


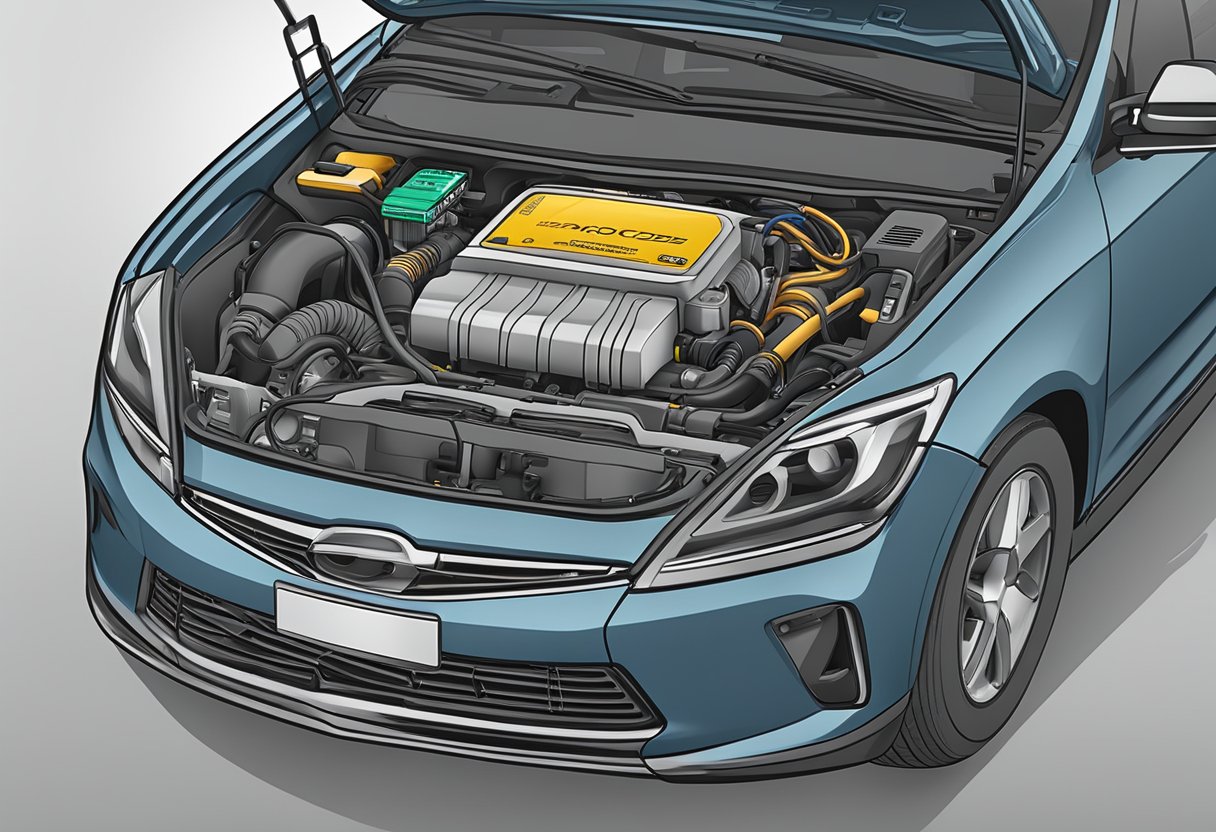
If you’ve been experiencing engine problems and your check engine light has been on, you may have encountered the P0332 code.
This code is related to the knock sensor 2 circuit, which is responsible for detecting engine knock and sending a signal to the engine control module (ECM) to adjust ignition timing.
When the knock sensor 2 circuit is reporting a low input, it can cause a variety of issues with engine performance.
Diagnosing the cause of a P0332 code can be tricky, as there are several potential culprits.
It could be a faulty knock sensor, damaged wiring or connectors in the knock sensor circuit, or a problem with the ECM itself.
However, with the right tools and knowledge, you can pinpoint the issue and get your engine running smoothly again.
In this article, we’ll walk you through the steps to diagnose and fix a P0332 code related to the knock sensor 2 circuit.
Understanding P0332 Code
Definition of Knock Sensor 2 Circuit Low Input
When your vehicle’s onboard computer detects a problem with the knock sensor 2 circuit, it will trigger the P0332 code.
The knock sensor 2 circuit is responsible for monitoring engine vibrations and detecting any potential engine knocking or detonation.
When the knock sensor 2 circuit detects a low input signal, it means that the engine is not functioning properly.
Causes of P0332 Code
There are several potential causes of the P0332 code. One common cause is a faulty knock sensor.
Other causes may include damaged or corroded wiring, a failed engine control module (ECM), or a malfunctioning engine cooling system.
It’s important to have a qualified mechanic diagnose the issue to determine the exact cause of the problem.
Symptoms Associated with P0332 Code
If your vehicle’s onboard computer has detected the P0332 code, you may notice a few symptoms.
One common symptom is reduced engine performance, which can lead to poor acceleration and decreased fuel efficiency.
You may also notice that your engine is running rough or that it’s making unusual noises.
In some cases, the check engine light may also be illuminated.
In summary, the P0332 code is an indication that there is a problem with the knock sensor 2 circuit.
It’s important to have the issue diagnosed and repaired by a qualified mechanic to ensure that your vehicle is functioning properly.
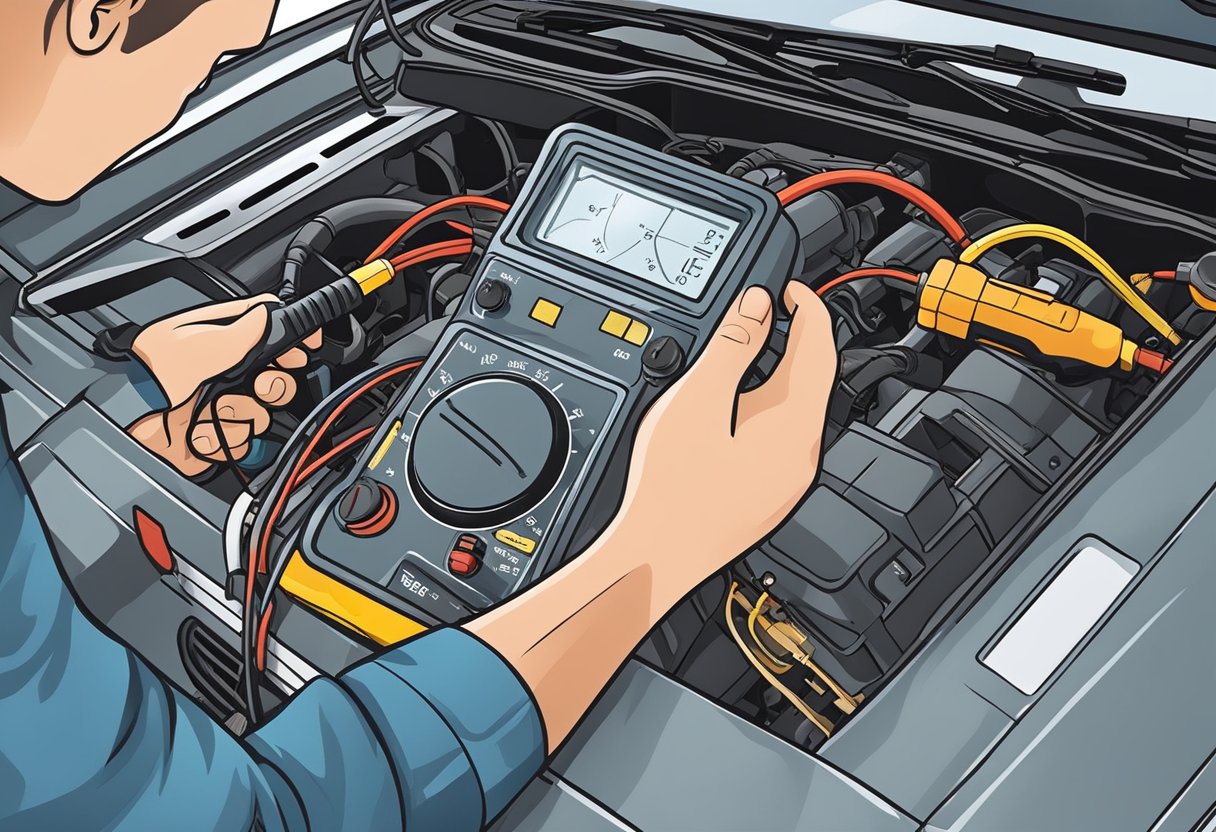
Diagnostic Tools and Equipment
To diagnose the P0332 code, you will need a few diagnostic tools and equipment.
These tools will help you to identify the exact cause of the problem and fix it.
Here are some of the tools and equipment that you will need:
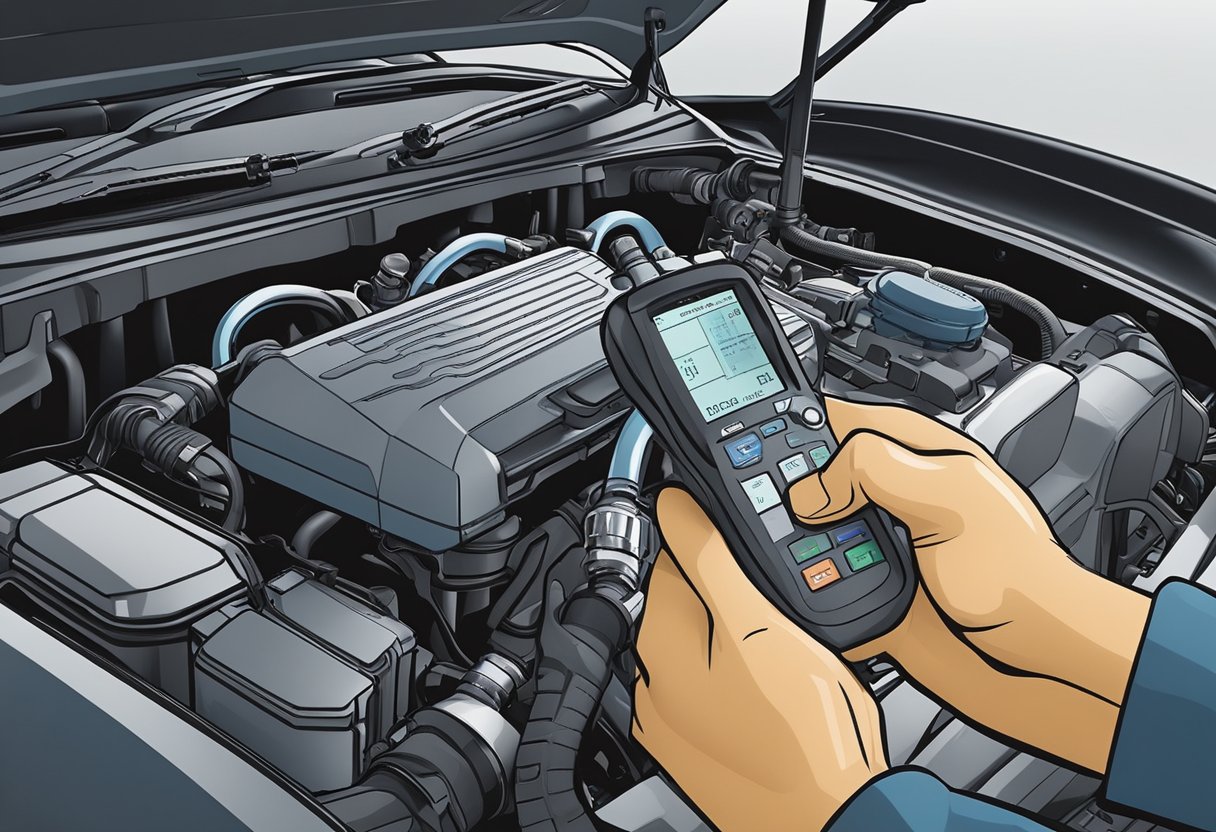
1. OBD-II Scanner
The first tool that you will need is an OBD-II scanner.
This scanner will help you to read the diagnostic trouble codes (DTCs) stored in the engine control module (ECM).
The scanner will also provide you with live data, such as engine RPM, coolant temperature, and throttle position, which can help you to diagnose the problem.
2. Multimeter
The next tool that you will need is a multimeter. This tool will help you to test the knock sensor and its wiring.
You can use the multimeter to check the resistance of the knock sensor and the continuity of its wiring.
3. Wiring Diagram
You will also need a wiring diagram for your vehicle.
The wiring diagram will help you to identify the wires that are connected to the knock sensor and the ECM.
You can use the wiring diagram to check the continuity of the wiring and to identify any wiring faults.
4. Knock Sensor Socket
Finally, you will need a knock sensor socket.
This socket is designed to fit over the knock sensor and allow you to remove it without damaging it.
You can use the socket to remove the knock sensor and replace it if necessary.
By using these diagnostic tools and equipment, you can diagnose the P0332 code and fix the problem.
It is important to follow the diagnostic procedures outlined in the service manual for your vehicle to ensure that you identify the root cause of the problem and fix it correctly.
Are Low Input Circuit and Low Voltage Issues Related in Car Diagnostic Codes?
When diagnosing low voltage oxygen sensor issues in car diagnostic codes, it’s essential to consider the low input circuit. These two issues can be related, as a malfunctioning low input circuit can lead to low voltage readings from the oxygen sensor. Both issues should be addressed to ensure proper vehicle function.
Are Low Input Circuit Issues Common in Different Sensor Malfunctions in a Vehicle?
Low input circuit issues are common in various sensor malfunctions in a vehicle, including the throttle pedal position sensor troubleshooting. These issues can lead to poor performance, stalling, or rough idling. It is important to address these issues promptly to ensure the proper functioning of the vehicle.
Step-by-Step Diagnosis Procedure
When your vehicle’s check engine light illuminates, it’s important to diagnose the problem immediately.
One potential issue that could cause the check engine light to come on is a P0332 code, indicating a knock sensor 2 circuit low input.
Follow these steps to diagnose the issue quickly and effectively:
Preliminary Checks
Before beginning any electrical or sensor testing, it’s important to perform some preliminary checks to ensure that the issue is not caused by something simple.
Here are a few things to check:
- Check for loose or damaged wiring connections
- Inspect the knock sensor for any signs of physical damage
- Check the engine oil level and quality
- Check the engine for any signs of knocking or pinging
Electrical Testing
If the preliminary checks do not reveal any issues, the next step is to perform electrical testing on the knock sensor circuit.
Here’s how to do it:
- Use a multimeter to check the resistance of the knock sensor circuit. The resistance should be between 500-620 ohms.
- Check the voltage at the knock sensor connector with the engine running. The voltage should be between 0.5-1.5 volts.
- Check the continuity of the circuit between the knock sensor and the engine control module (ECM).
Sensor Testing
If the electrical testing does not reveal any issues, the next step is to test the knock sensor itself.
Here’s how to do it:
- Remove the knock sensor from the engine.
- Tap the sensor with a small hammer or similar object.
- Use a multimeter to check the resistance of the sensor. The resistance should change as the sensor is tapped.
ECU Analysis
If all of the above tests have been performed and no issues have been found, the final step is to analyze the data from the engine control module (ECM).
Here’s how to do it:
- Connect a scan tool to the vehicle’s OBD-II port.
- Check the freeze frame data to see if any other codes have been set.
- Monitor the live data from the ECM while the engine is running to see if any abnormalities are present.
By following these steps, you can diagnose a P0332 code quickly and effectively, allowing you to make the necessary repairs and get your vehicle back on the road.
Repair and Replacement Guidelines
If the knock sensor 2 circuit low input issue has been diagnosed in your vehicle, it is important to take the necessary steps to repair or replace the faulty component.
Here are some guidelines to help you through the process.
Repair
In some cases, the issue may be caused by a loose or damaged wiring connection.
If this is the case, you can attempt to repair the wiring or connector before replacing the sensor.
To repair a wiring connection, you will need to locate the damaged wire and splice in a new section of wire.
Be sure to use the appropriate connectors and tools to ensure a secure connection.
Replacement
If the wiring connections are in good condition, then the knock sensor 2 will need to be replaced.
Before replacing the sensor, it is important to ensure that it is the correct sensor causing the issue.
Once you have confirmed that the knock sensor 2 is the problem, you can proceed with the replacement process.
The steps for replacing the sensor may vary depending on the make and model of your vehicle.
Here are some general steps to follow:
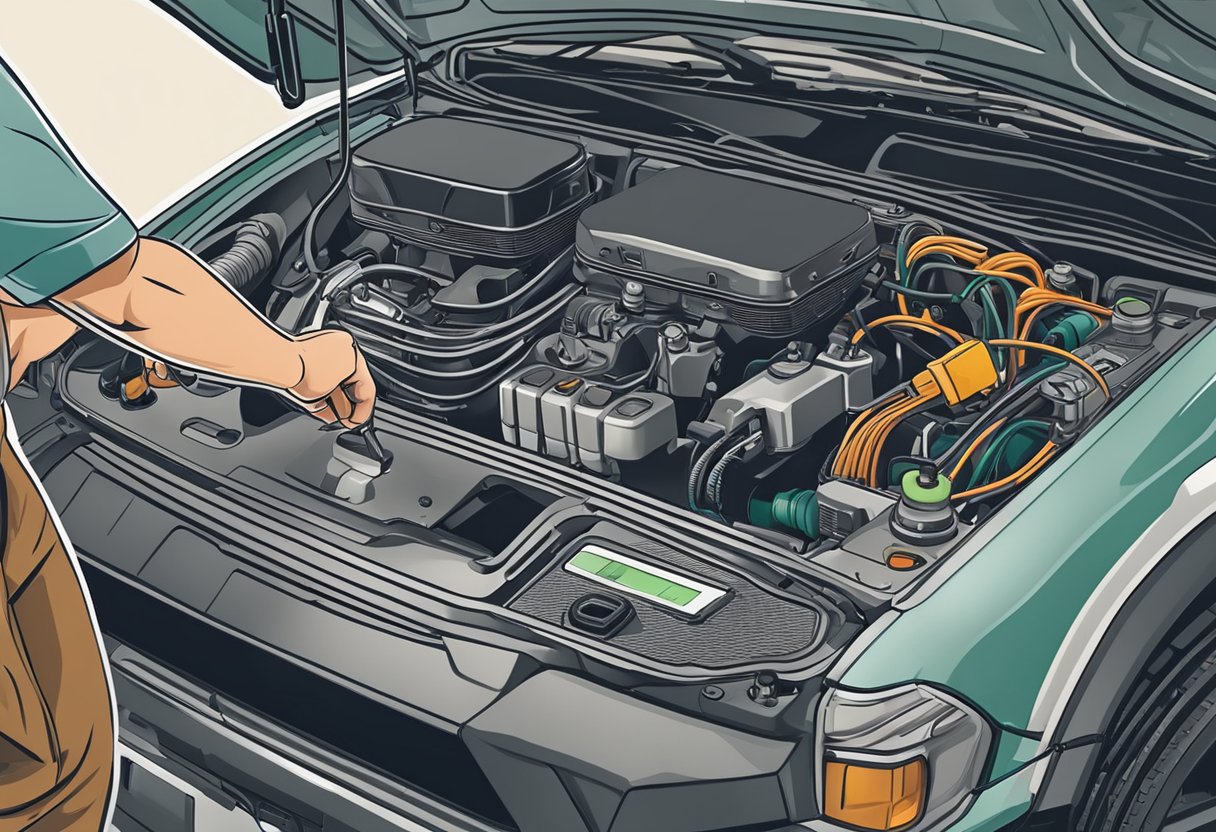
- Locate the knock sensor 2. This sensor is typically located on the engine block or cylinder head.
- Disconnect the electrical connector from the sensor.
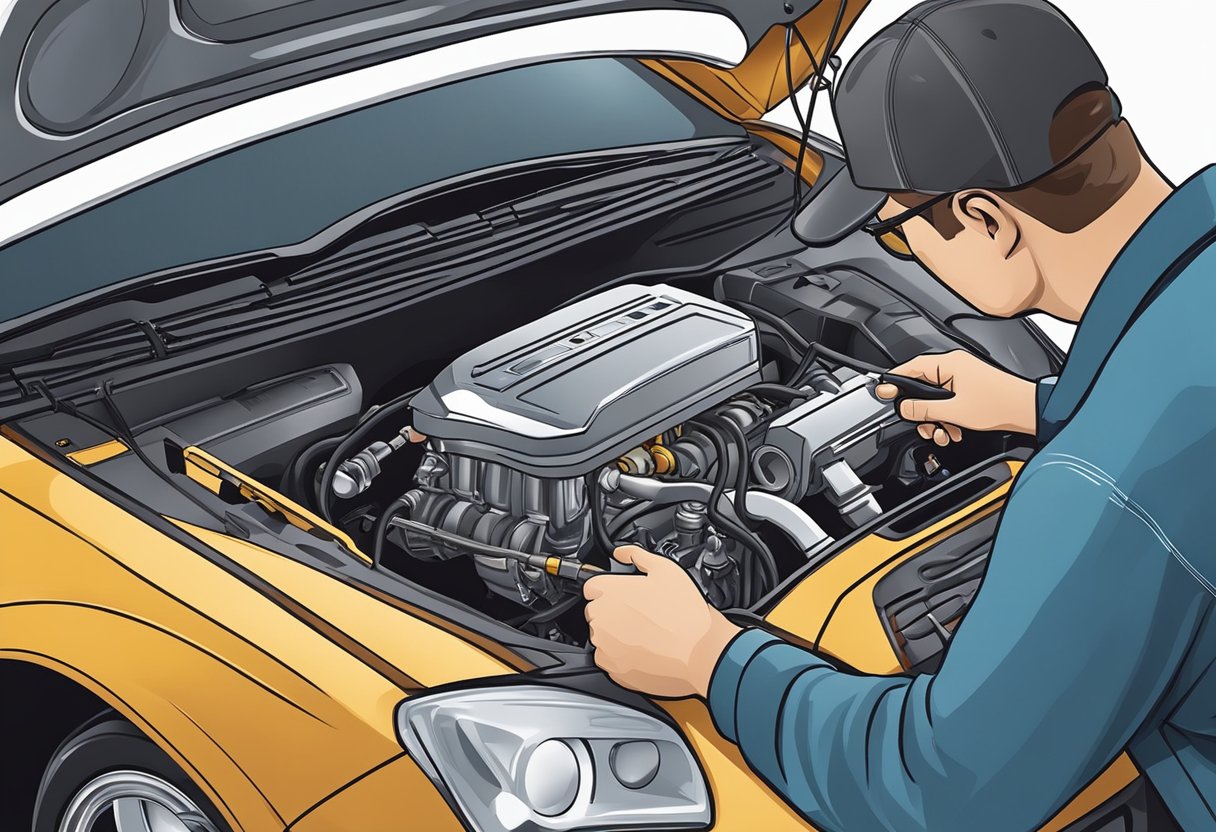
- Use a wrench or socket to remove the sensor from its mounting location.
- Install the new sensor in the same location and torque it to the manufacturer’s specifications.
- Reconnect the electrical connector to the new sensor.
It is important to use a high-quality replacement sensor to ensure proper function and longevity.
Be sure to follow the manufacturer’s guidelines for installation and torque specifications.
By following these repair and replacement guidelines, you can quickly and effectively address the knock sensor 2 circuit low input issue in your vehicle.
Preventive Measures and Maintenance Tips
To prevent the occurrence of the P0332 code, it is important to follow a regular maintenance schedule for your vehicle.
Here are some tips to keep in mind:
-
Regularly check the engine oil level and quality.
Low oil levels or poor quality oil can cause engine knocking, which can trigger the knock sensor and result in the P0332 code.
-
Keep your engine clean and free of debris. Dirt and debris can cause engine damage and increase the likelihood of engine knocking.
-
Use high-quality fuel that meets the manufacturer’s specifications.
Poor quality fuel can cause engine knocking and trigger the knock sensor.
-
Replace the knock sensor if it is damaged or worn out. A faulty knock sensor can cause false readings and trigger the P0332 code.
-
Check the wiring and connections leading to the knock sensor.
Loose or damaged connections can cause the knock sensor to malfunction and trigger the P0332 code.
By following these preventive measures and maintenance tips, you can reduce the likelihood of the P0332 code occurring in your vehicle.
Regular maintenance and attention to detail can help ensure the longevity and reliability of your vehicle’s engine.
As an Amazon Associate we earn from qualifying purchases.


I’ve noticed my car’s engine performance has been declining, and the check engine light turned on recently. Could this P0332 code be causing these symptoms, and if so, how can I confirm it’s specifically the knock sensor at fault before I start replacing parts?