


If you’re driving and your car suddenly starts to sputter or misfire, it could be a sign of distributor cap failure.
The distributor cap is a crucial component of your vehicle’s ignition system, responsible for distributing high voltage from the ignition coil to the spark plugs.
When it fails, you may experience a range of symptoms, from poor engine performance to stalling and difficulty starting.
In this article, we’ll take a closer look at distributor cap failure, including the symptoms to watch out for, how to test for it, and the cost of replacement.
Whether you’re a seasoned mechanic or a car owner looking to diagnose a problem, this guide will provide you with the information you need to understand and address distributor cap failure.
So, let’s get started and learn more about this important engine component.
Symptoms of Distributor Cap Failure
If you’re experiencing issues with your car’s performance, it could be due to a faulty distributor cap.
Here are some common symptoms of distributor cap failure that you should look out for:
Engine Misfires
One of the most common symptoms of a bad distributor cap is engine misfires.
This occurs when the spark plug wires are not delivering enough voltage to the spark plugs, causing the engine to misfire or run rough.
You may notice a loss of power or acceleration, as well as a rough idle.
Car Won’t Start
If your car won’t start, it could be due to a faulty distributor cap.
The distributor cap is responsible for distributing the spark to the spark plugs, and if it fails, your car won’t start.
You may hear the engine cranking, but it won’t turn over.
Stalling and Rough Idling
Another symptom of a bad distributor cap is stalling and rough idling.
This occurs when the engine is not getting enough spark, causing it to stall or run rough.
You may notice that the engine stalls when you come to a stop or that it runs rough when you’re idling.
Check Engine Light
If your car’s check engine light comes on, it could be due to a faulty distributor cap.
The check engine light is a warning that something is wrong with your car’s engine, and a bad distributor cap could be the culprit.
You should have your car’s computer scanned to see what codes are being thrown and to diagnose the issue.
In summary, if you’re experiencing any of these symptoms, it’s important to have your car checked by a qualified mechanic.
A bad distributor cap can cause serious damage to your car’s engine, and it’s important to address the issue as soon as possible.
Testing the Distributor Cap
When diagnosing a potential distributor cap failure, it is important to test the cap to determine if it is the source of the problem.
There are several methods for testing a distributor cap, including visual inspection, multimeter testing, and spark testing.
Visual Inspection
The first step in testing a distributor cap is to perform a visual inspection.
Look for any cracks, corrosion, or other damage to the cap. If you notice any damage, it is likely that the cap needs to be replaced.
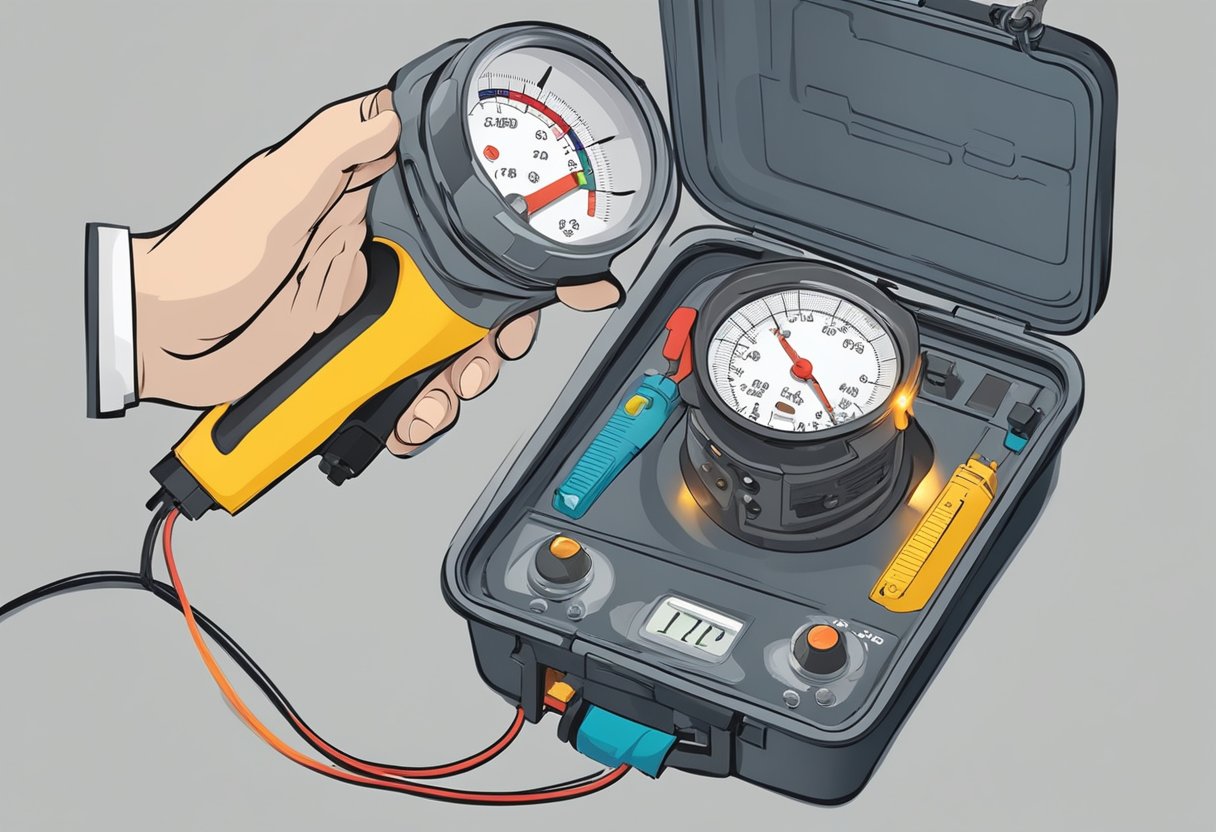
Multimeter Testing
Multimeter testing is another method for testing a distributor cap.
Set your multimeter to the resistance setting and touch the positive and negative leads to the corresponding terminals on the cap.
A reading of infinity indicates that the cap is faulty and needs to be replaced.
If the reading is within the specified range, the cap is likely functioning properly.
Spark Test
A spark test can also be used to test a distributor cap. Remove the cap from the distributor and place it on a non-conductive surface.
Connect a spark tester to one of the cap terminals and ground the other end of the tester. Crank the engine and observe the spark.
If there is no spark or a weak spark, the cap may be faulty and need to be replaced.
Testing the distributor cap is an important step in diagnosing potential engine problems.
By performing a visual inspection, multimeter testing, and spark testing, you can determine if the cap is functioning properly or needs to be replaced.
What are the Symptoms and Costs Associated with Distributor Cap Failure?
If you notice engine misfires, stalling, or a decrease in fuel efficiency, you might be experiencing symptoms of distributor cap failure. Ignoring these signs can lead to costly repairs, including the replacement of the distributor cap and potential damage to other engine components. Be sure to factor in heater core flush cost factors when budgeting for repairs.
Is Distributor Cap Failure a Common Issue in Chevrolet Camaros?
Distributor cap failure is not a common issue in Chevrolet Camaros. However, like any vehicle, Chevrolet Camaro reliability issues can arise. Regular maintenance and monitoring of the distributor cap can prevent potential problems down the road. Stay vigilant and consult a professional if any concerns surface.
Replacing a Distributor Cap
If you suspect that your distributor cap is faulty, replacing it is a relatively easy task that you can do yourself.
Here are the steps you need to follow:
Step-by-Step Replacement
-
Locate the distributor cap. It is usually located on the top of the engine and is connected to the spark plug wires.
-
Remove the spark plug wires from the distributor cap. You can do this by gently pulling them off the cap.
-
Remove the screws or clips that hold the distributor cap in place. You may need to use a screwdriver or pliers to do this.
-
Lift the old distributor cap off the distributor.
-
Install the new distributor cap in the same position as the old one. Make sure that it is secured in place with the screws or clips.
-
Reconnect the spark plug wires to the new distributor cap. Make sure that you connect them to the correct terminals.
-
Start the engine and check to make sure that it is running smoothly.
If you notice any issues, double-check that you have connected the spark plug wires correctly.
Required Tools and Materials
To replace a distributor cap, you will need the following tools and materials:
- New distributor cap
- Screwdriver or pliers (depending on how the cap is secured)
- Spark plug wire puller (optional, but can make the process easier)
By following these simple steps, you can replace a faulty distributor cap and keep your car running smoothly.
If you are unsure about any aspect of the replacement process, consult your vehicle’s owner manual or seek the advice of a professional mechanic.
How Can Distributor Cap Failure Lead to a P0300 Trouble Code?
Distributor cap failure can disrupt the ignition system, leading to uneven engine performance and misfires. When this occurs, the trouble code P0300 tackled by the car’s computer system will be triggered, indicating random/multiple cylinder misfires. This can ultimately result in reduced fuel economy, loss of power, and potential damage to the catalytic converter.
What Are the Similar Symptoms Between Distributor Cap Failure and Ignition Control Module Failures?
When facing distributor cap failure or ignition control module failures, it’s essential to recognize symptoms and estimate the issue. Both may cause similar symptoms like engine misfires, rough idling, and difficulty starting the vehicle. It’s crucial to have a professional diagnose and address the problem promptly.
Cost Analysis of Distributor Cap Replacement
Replacing a distributor cap can be an affordable repair, but the cost can vary depending on several factors.
In this section, we will break down the cost of distributor cap replacement into three categories: parts cost, labor cost, and additional expenses.
Parts Cost
The cost of a distributor cap can vary depending on the make and model of your vehicle.
On average, a distributor cap can cost anywhere from $20 to $100.
It is important to note that some vehicles may require a specific type of distributor cap, which can increase the cost.
Labor Cost
The labor cost for distributor cap replacement can also vary depending on the complexity of the repair and the hourly rate of the mechanic.
On average, the labor cost for distributor cap replacement can range from $50 to $150.
However, some mechanics may charge more for this repair, especially if they have to remove other components to access the distributor cap.
Additional Expenses
In some cases, there may be additional expenses associated with distributor cap replacement.
For example, if the distributor rotor needs to be replaced, this can increase the overall cost of the repair.
Additionally, if other components need to be removed to access the distributor cap, this can result in additional labor costs.
Overall, the cost of distributor cap replacement can range from $70 to $250 or more.
It is important to consult with a qualified mechanic to determine the exact cost of the repair for your specific vehicle.
By addressing distributor cap failure early on, you can avoid more costly repairs down the road.
Preventive Measures and Maintenance Tips
To prevent distributor cap failure, it is important to perform regular maintenance on your vehicle.
Here are some tips to help you maintain your distributor cap:
-
Check the condition of your distributor cap regularly. Look for signs of wear and tear, such as cracks, corrosion, or carbon tracking.
If you see any of these signs, replace the distributor cap immediately.
-
Clean your distributor cap regularly. Use a soft cloth or a brush to remove any dirt, debris, or moisture from the cap.
Make sure to dry the cap thoroughly before reinstalling it.
-
Inspect your spark plug wires regularly. Look for signs of wear and tear, such as cracks, breaks, or burns.
Replace any damaged wires immediately.
-
Replace your spark plugs and ignition wires at regular intervals.
This will help ensure that your engine is running smoothly and efficiently.
-
Use high-quality parts when replacing your distributor cap, spark plugs, and ignition wires.
Cheap or low-quality parts can cause premature wear and tear, leading to distributor cap failure.
By following these preventive measures and maintenance tips, you can help prolong the life of your distributor cap and avoid costly repairs in the future.
As an Amazon Associate we earn from qualifying purchases.


I’ve been noticing some rough idling and stalling in my car lately. Could these issues also be indicative of problems beyond the distributor cap, possibly in other parts of the ignition system?