


To replace your windshield washer reservoir, start by locating it beneath the car’s battery. Gather tools like screwdrivers and pliers, and have a new tank ready.
Disconnect the reservoir and remove the car battery. Loosen the securing bolt, disconnect attached clamps, and pull the reservoir out.
Unscrew the reservoir from the fender, elevate the vehicle slightly, and detach it using pliers. When replacing, focus on part orientation, disconnect surrounding components, and mind maintenance to prevent leaks.
For detailed steps and a successful replacement, follow the outlined process with precision.
Key Points
- Locate the reservoir below the battery for inspection.
- Gather tools like screwdrivers and pliers for dismantling.
- Remove reservoir from engine and wheel sides carefully.
- Replace reservoir, ensuring proper orientation and maintenance.
- Consider removing front bumper for thorough replacement.
Locating the Windshield Washer Reservoir
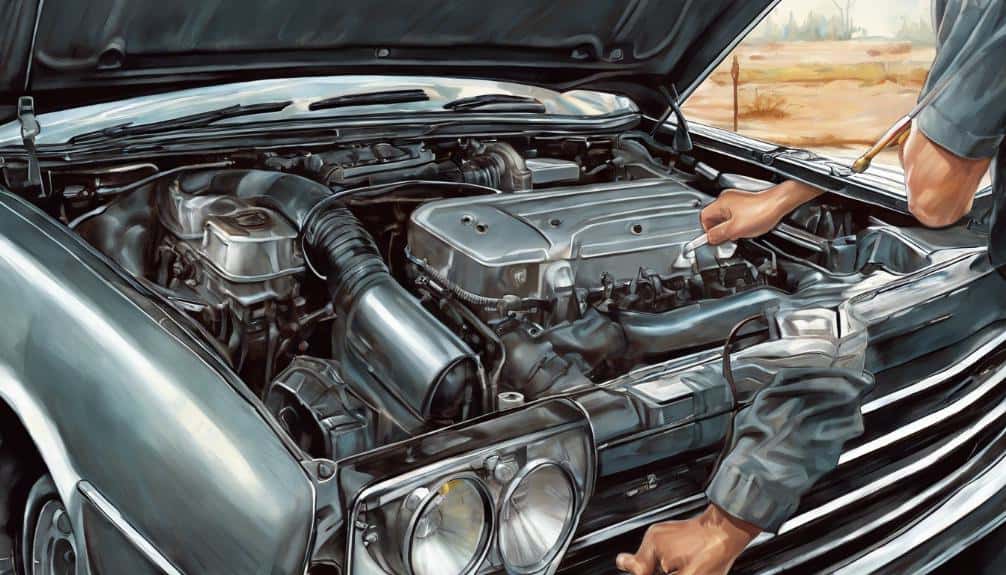
To locate the windshield washer reservoir, start by checking beneath your car’s battery for its common placement. In most cars, the reservoir is situated in this area, making it accessible for maintenance.
If you’re experiencing symptoms like visible stains, low fluid pressure, or cracks on the reservoir, exploring alternatives might be necessary.
Regular maintenance tips can help avoid such issues, ensuring the smooth functioning of your windshield washer system. When inspecting the reservoir, be sure to look for any signs of leakage or damage that may require replacement.
By staying proactive with maintenance, you can prevent more significant problems down the road.
Remember to handle the reservoir with care to avoid any accidental damage during the examination. By following these simple maintenance tips and exploring alternatives when needed, you can keep your windshield washer system in top condition.
Gathering Necessary Tools
Make sure you have all the required tools such as a Philips screwdriver, flat-head screwdriver, T30 Torx bit, ratchet, needlenose pliers, and snips before starting the windshield washer reservoir replacement process.
Preparation is key, so it’s important to have these tools on hand to guarantee a smooth replacement.
Tool selection is essential for a successful windshield washer reservoir replacement. Then, having a new washer tank ready is crucial for this process.
Before beginning, identify if your vehicle has headlight washers and position a drain pan or towels to catch any spilled fluid.
Distinguishing between washer tanks for cars with or without headlight washers is necessary for a successful replacement. Be ready for potential washer fluid spillage during the replacement to avoid any disruptions.
Can a Leaking Coolant Reservoir Affect the Windshield Washer Reservoir?
If you experience leaking coolant reservoir symptoms and costs, it’s important to address the issue promptly. A leaking coolant reservoir can affect the windshield washer reservoir if the leakage spreads and interferes with the functionality of other parts in the engine compartment. Regular maintenance can help prevent such complications.
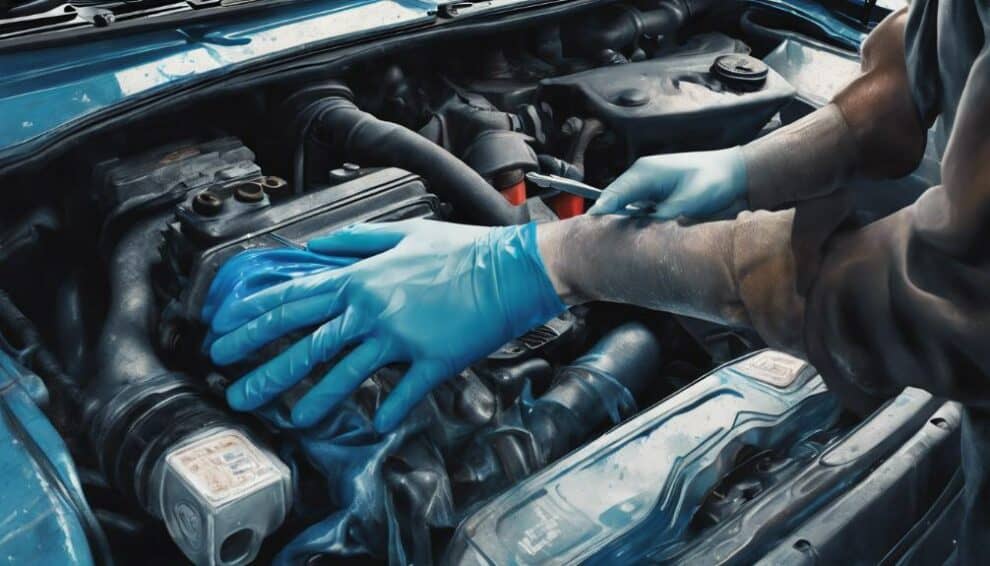
Dismantling From the Engine Side

When dismantling from the engine side, start by removing the car battery to access the windshield washer reservoir located beneath it. The reservoir is typically positioned beneath the battery in most vehicles.
To reach the reservoir, you’ll need to loosen the iron sheet bolt that secures it in place.
Once the bolt is loosened, you can pull the reservoir upward for removal. Before doing so, make sure to disconnect any attached harness plug or clamp.
Proper disassembly from the engine side is vital to guarantee a smooth removal process.
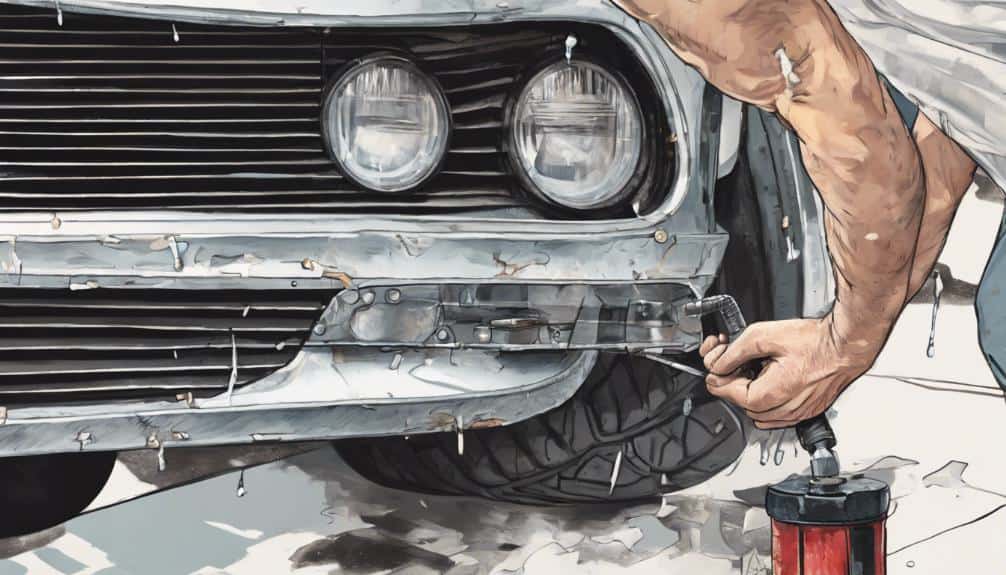
Removing From the Wheel Side
If you’re replacing the windshield washer reservoir from the wheel side, begin by unscrewing it from the lower fender.
To access the reservoir from this angle, you may need to lift the vehicle slightly upward using a wheel jack.
Once the vehicle is elevated, utilize pliers to carefully remove the stoppers (clips) securing the reservoir in place on the lower fender.
Remember to remove the screw that holds the reservoir with the car base when replacing it from the wheel side.
After successfully removing the screws and clips, gently pull the reservoir outwards to detach it from the fender. Make sure you have a new reservoir ready to replace the old one.
When installing the new reservoir, securely fasten it in place and reattach any screws or clips removed during the removal process.
This completes the necessary steps for removing and replacing the windshield washer reservoir from the wheel side.
Successfully Replacing the Reservoir
To ensure a successful replacement of the windshield washer fluid reservoir, carefully disconnect surrounding components and wiring before installing the new reservoir in reverse order.
Proper maintenance during this process is essential to avoiding leaks and ensuring the system functions correctly. When replacing the reservoir, pay close attention to the orientation of parts, making sure everything aligns properly.
Reservoirs are intricately designed to fit into tight spaces, often requiring removal of the front bumper or wheel well liner to access mounting bolts or clips.
Before removing the old reservoir, disconnect wiring to the washer fluid pump and hoses connecting the pump to the nozzles. Take out the mounting bolts or clips securing the reservoir in place, ensuring all components are properly disconnected.
Address any leaks or damages you encounter during the replacement process to prevent issues in the future. Successful replacement involves careful attention to detail and following the necessary steps for preparation and installation.
As an Amazon Associate we earn from qualifying purchases.


