


If you own a vehicle, you have probably experienced the frustration of a check engine light popping up on your dashboard. One of the most common reasons for this is an O2 sensor heater circuit malfunction, which is indicated by the P0053 code. This code can be caused by a variety of factors, including a faulty O2 sensor, damaged wiring, or a blown fuse.

Fortunately, diagnosing and fixing this issue is relatively straightforward with the right tools and knowledge. In this guide, we will walk you through the steps to solve the P0053 code related to O2 sensor heater resistance. We will cover the basics of O2 sensors, how to diagnose the problem using a multimeter, and the steps to replace the sensor or repair any damaged wiring. By the end of this guide, you will have the confidence to tackle this common car issue on your own and avoid costly repairs at the mechanic.
Understanding the P0053 Code
Definition and Explanation
The P0053 code is an OBD-II trouble code that indicates an issue with the oxygen sensor heater resistance in Bank 1, Sensor 1. This sensor is responsible for monitoring the oxygen levels in the exhaust system and sending that information to the engine control module (ECM). The ECM then uses this information to adjust the air-fuel mixture to optimize engine performance and reduce emissions.
When the oxygen sensor heater resistance in Bank 1, Sensor 1 is too high or too low, the ECM will trigger the P0053 code. This can cause a variety of issues, including reduced fuel efficiency, poor engine performance, and increased emissions.
Causes of the P0053 Code
There are several potential causes of the P0053 code, including:
- A faulty oxygen sensor
- A damaged or corroded wiring harness
- A blown fuse or relay
- A malfunctioning ECM
If you suspect that your vehicle is experiencing issues related to the P0053 code, it is important to have it diagnosed and repaired promptly. Ignoring the issue can lead to more serious problems down the line, including damage to other engine components and increased emissions.
Diagnosing the Issue
Tools Required
Before you begin diagnosing the P0053 code, you will need a few tools to help you with the process. Here’s a list of the tools you will need:
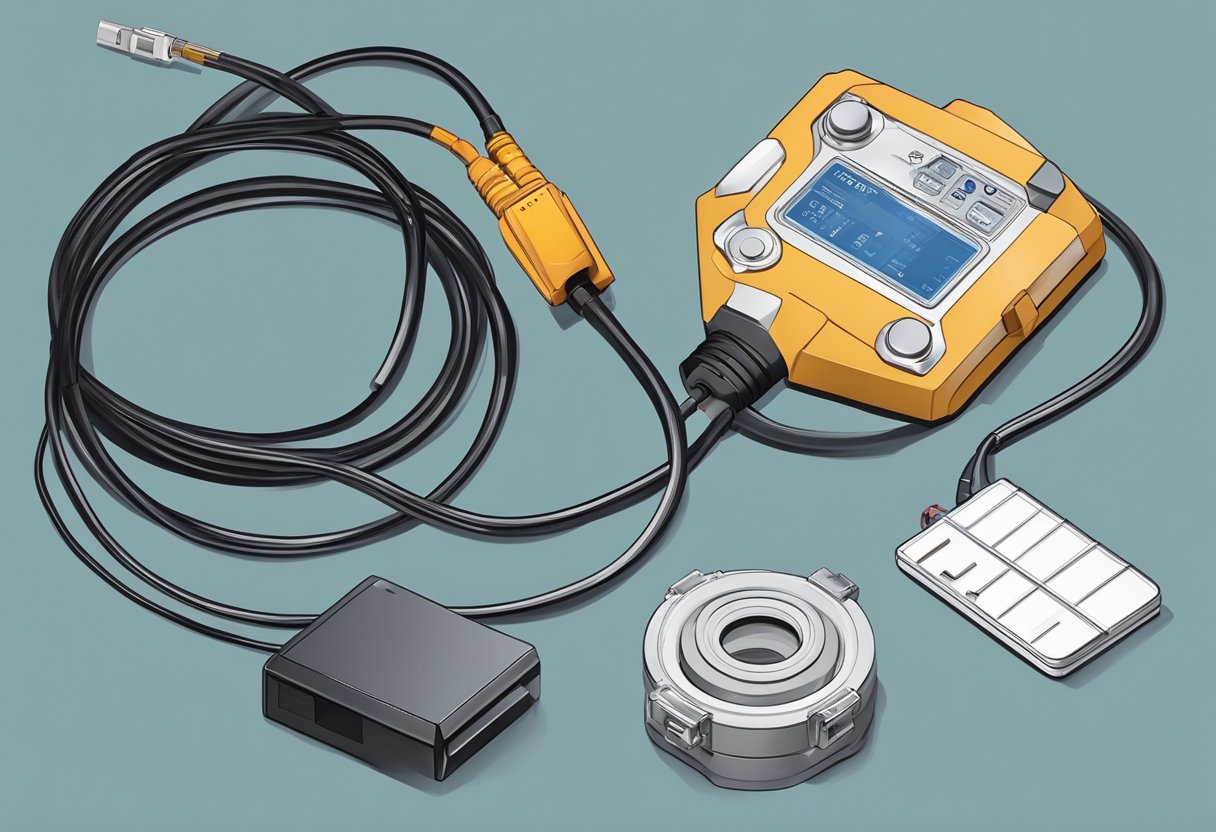
- A multimeter
- A scan tool
- A wiring diagram for your vehicle’s O2 sensor circuit
- A torch or light source (optional)
Step-by-Step Diagnosis Procedure
-
Use a scan tool to determine the specific O2 sensor that is causing the P0053 code. The code will usually indicate which O2 sensor is at fault.
-
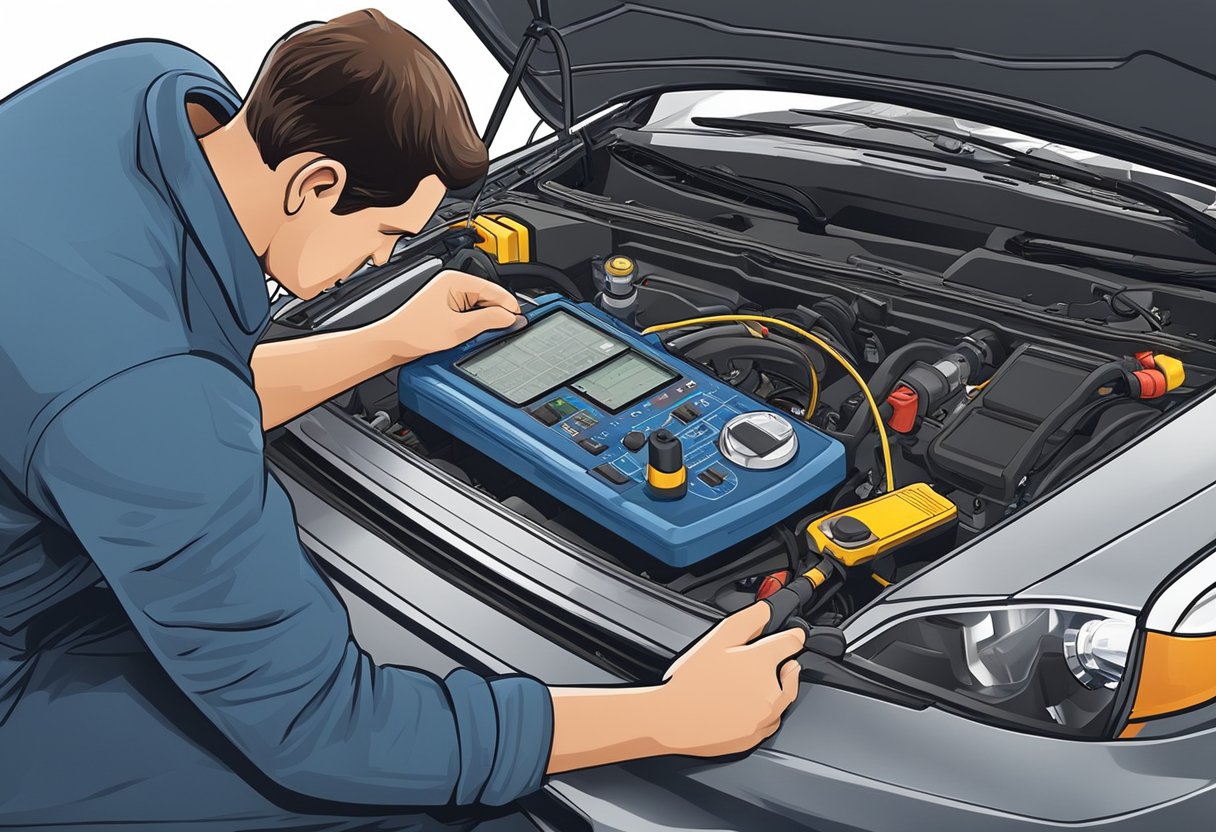
Inspect the wiring and connections of the O2 sensor. Look for any signs of damage, corrosion, or loose connections. Use a wiring diagram to help you identify the correct wires.
-
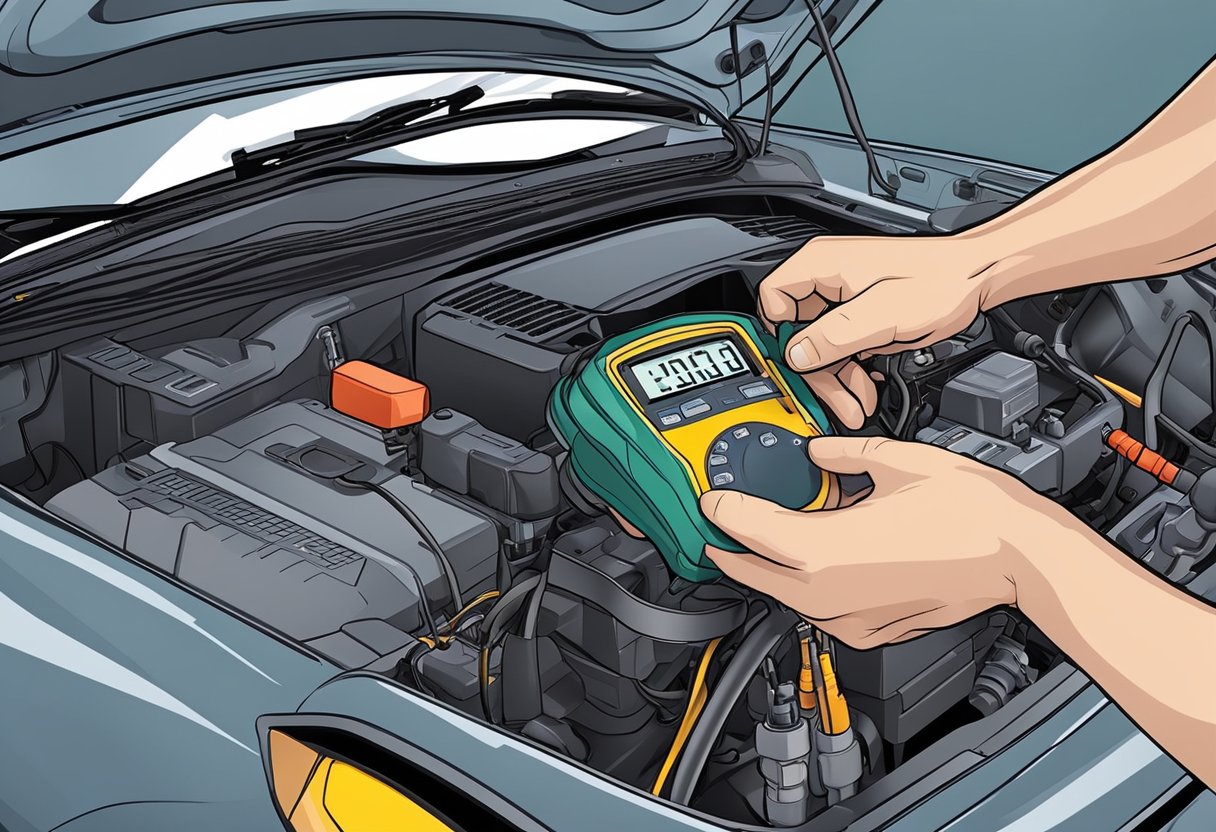
Check the resistance of the O2 sensor heater circuit using a multimeter. The resistance should be within the manufacturer’s specifications. If the resistance is too high or too low, it indicates a problem with the O2 sensor heater circuit.
-
Check the voltage supply to the O2 sensor heater circuit. The voltage should be within the manufacturer’s specifications. If the voltage is too low, it may indicate a problem with the power supply to the O2 sensor or a faulty relay.
-
Check the ground connection of the O2 sensor heater circuit. Make sure it is properly grounded and there are no signs of damage or corrosion.
-
If everything checks out, replace the faulty O2 sensor with a new one. Make sure to use the correct part for your vehicle.
By following these steps, you should be able to diagnose and fix the P0053 code related to O2 sensor heater resistance. If you’re unsure about any of the steps or need further assistance, consult a professional mechanic or refer to your vehicle’s repair manual.
Are O2 Sensor Heater Resistance Issues Linked to Catalyst Efficiency Problems?
When dealing with troubleshooting p0421 code catalyst efficiency, it’s important to consider potential O2 sensor heater resistance issues. The O2 sensor is crucial for monitoring oxygen levels in the exhaust and if its heater resistance is off, it can lead to catalyst efficiency problems. Regular maintenance can help prevent these issues.
Solving the P0053 Code
If you have received a P0053 code, it means that your O2 sensor heater circuit has high resistance. This can be caused by a variety of factors, including a faulty O2 sensor, damaged wiring, or a malfunctioning connector. Fortunately, there are a few steps you can take to solve this issue and get your vehicle back on the road.
Repairing or Replacing the O2 Sensor Heater
The first step in solving the P0053 code is to inspect your O2 sensor heater. If you find that the heater is damaged or not functioning properly, you will need to replace it. This will require you to remove the old sensor and install a new one.
Before you replace the O2 sensor, it is important to ensure that the new sensor is compatible with your vehicle’s make and model. You can find this information in your vehicle’s owner’s manual or by contacting your local dealership.
Once you have the correct O2 sensor, you can install it by following these steps:
- Disconnect the negative battery cable.
- Locate the faulty O2 sensor and disconnect it from the wiring harness.
- Remove the old sensor using a sensor removal tool.
- Install the new sensor using a sensor installation tool.
- Reconnect the wiring harness to the new sensor.
- Reconnect the negative battery cable.
Wiring and Connector Repairs
If your O2 sensor heater is functioning properly, the next step is to inspect your wiring and connectors. Damage to the wiring or connectors can cause high resistance in the O2 sensor heater circuit, leading to the P0053 code.
To inspect your wiring and connectors, follow these steps:
- Disconnect the negative battery cable.
- Inspect the wiring and connectors for any signs of damage, such as fraying or corrosion.
- Repair any damaged wiring or connectors using electrical tape or a wire splicing kit.
- Reconnect the negative battery cable.
By following these steps, you can solve the P0053 code and get your vehicle back on the road. If you are unsure about any of these steps, it is recommended that you consult a professional mechanic for assistance.
Preventive Measures and Maintenance
Regular maintenance and inspection of your O2 sensor can help prevent the P0053 code from appearing. Here are some tips to keep in mind:
Routine Inspection Tips
- Check your O2 sensor regularly. You can do this by visually inspecting the sensor for any signs of damage or corrosion. If you notice any damage or corrosion, it may be time to replace the sensor.
- Use a multimeter to test the resistance of the O2 sensor heater. The resistance should be within the manufacturer’s recommended range. If it’s outside of the range, you may need to replace the sensor.
- Inspect the wiring and connectors for any signs of damage or corrosion. If you notice any damage or corrosion, it may be time to replace the wiring or connectors.
Avoiding Common Mistakes
- Don’t use silicone or any other type of sealant on the sensor threads. This can cause the sensor to malfunction.
- Don’t use a power tool to install the sensor. This can cause the sensor to break or malfunction.
- Don’t touch the sensor with your bare hands. The oils from your skin can damage the sensor.
By following these simple tips, you can help prevent the P0053 code from appearing and ensure that your O2 sensor is functioning properly.
Troubleshooting Common Challenges

Intermittent Sensor Failures
Intermittent sensor failures can be a real headache, especially when they seem to happen at random. Here are a few things you can try to troubleshoot these issues:
-
Check the wiring: Loose or damaged wiring can cause intermittent sensor failures. Make sure all connections are secure and that there are no signs of damage to the wiring harness.
-
Inspect the sensor: Over time, the sensor itself can become damaged or contaminated. Inspect the sensor for signs of damage or buildup and replace if necessary.
-
Check the voltage: Use a multimeter to check the voltage at the sensor. If the voltage is too low or too high, it could be causing intermittent failures.
Dealing with Recurring P0053 Codes
If you’re seeing recurring P0053 codes, there are a few things you can do to troubleshoot the issue:
-
Replace the sensor: If you’ve already replaced the sensor and are still seeing the code, it’s possible that the replacement sensor is faulty. Try replacing it again with a different brand or model.
-
Inspect the wiring: As mentioned earlier, loose or damaged wiring can cause sensor failures. Inspect the wiring harness for any signs of damage or wear and replace if necessary.
-
Check the PCM: The PCM (powertrain control module) is responsible for controlling the O2 sensor heater circuit. If the PCM is faulty, it could be causing the recurring code. Have the PCM tested and replaced if necessary.
Remember, troubleshooting can be a process of elimination. Start with the simplest solutions and work your way up to more complex ones. With patience and persistence, you can solve the P0053 code and get back to driving with confidence.
As an Amazon Associate we earn from qualifying purchases.