


Repairing front bumper clips can be a daunting task, but with a little bit of knowledge and confidence, it can be a DIY project that anyone can tackle. Bumper clips are small plastic pieces that hold the bumper cover in place on the vehicle. Over time, these clips can become brittle and break, causing the bumper cover to become loose or even fall off.
If you are looking to repair your front bumper clips, a DIY approach can save you time and money. With the right tools and a bit of patience, you can easily replace the broken clips and have your bumper cover looking as good as new. By taking on this project yourself, you can also gain a sense of satisfaction and confidence in your ability to tackle small repairs on your vehicle.
Understanding Bumper Clips
When it comes to repairing your front bumper, understanding bumper clips is crucial. Bumper clips are small plastic pieces that attach the bumper cover to the car’s frame. They are designed to absorb impact and protect the car from damage in the event of a collision.
Types of Bumper Clips
There are several types of bumper clips, including push-in clips, screw-in clips, and bolt-in clips. Push-in clips are the most common type and are designed to snap into place. Screw-in clips are threaded and require a screwdriver to install. Bolt-in clips are the most secure and require a bolt and nut to hold them in place.
Common Issues and Wear and Tear
Over time, bumper clips can wear down and become damaged due to age and impact. This can cause the bumper cover to become loose or even fall off. Common signs of wear and tear include visible cracks, missing pieces, and a loose bumper cover.
It’s important to replace damaged or worn bumper clips as soon as possible to prevent further damage to your car. If you notice any signs of wear and tear, it’s a good idea to inspect your bumper clips and replace any that are damaged or missing.
In summary, understanding the types of bumper clips and common issues with wear and tear can help you identify and repair any problems with your front bumper. By replacing damaged or worn bumper clips, you can ensure that your car is protected and looking its best.
Preparation for Repair
Before you start repairing your front bumper clips, it is important to prepare yourself and your workspace. This will ensure that the repair process is smooth and safe.
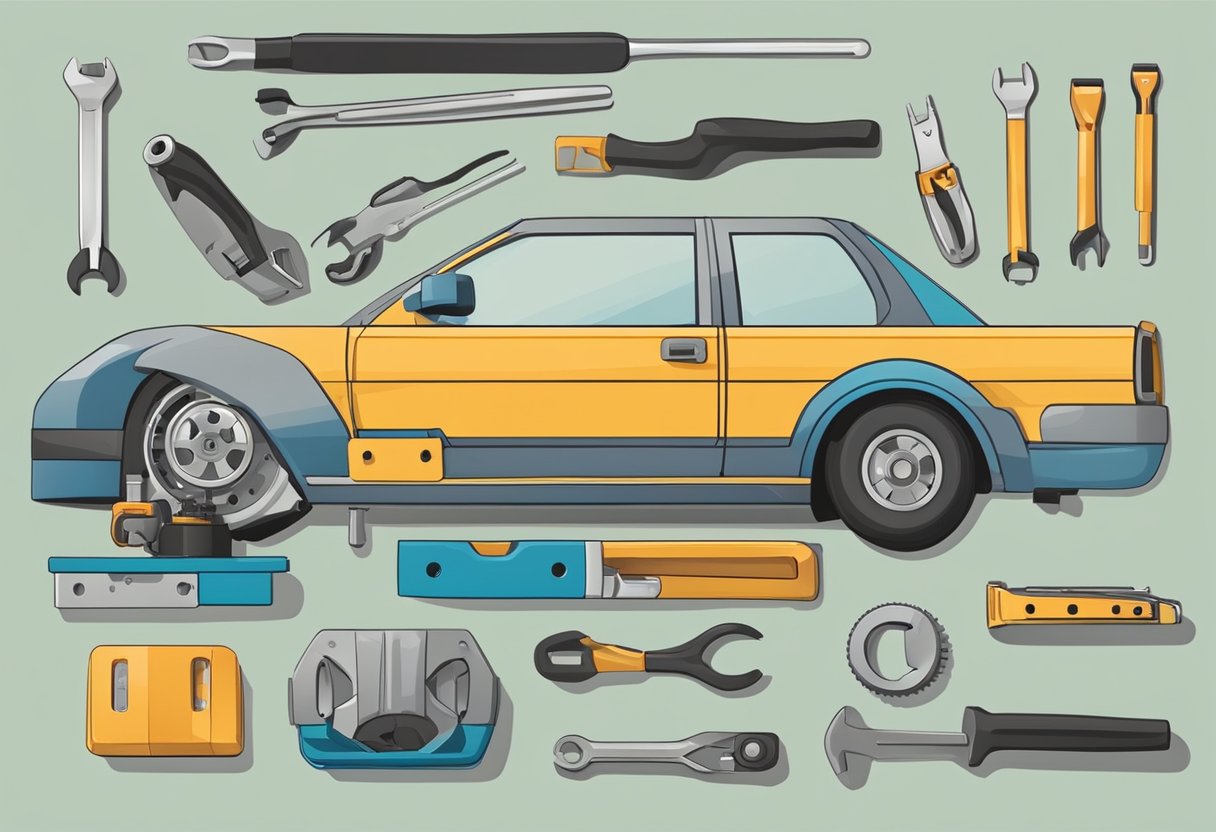
Tools and Materials Needed
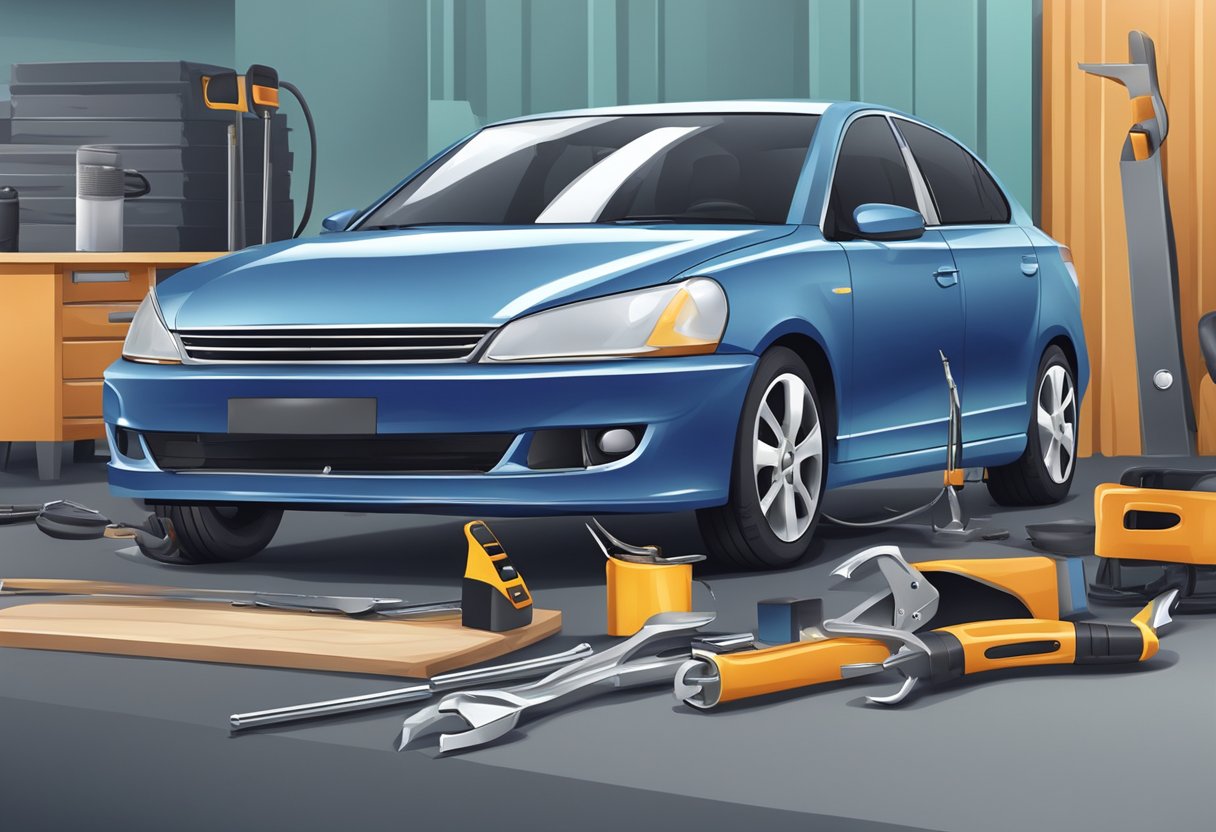
To repair your front bumper clips, you will need the following tools and materials:
- Pliers
- Sandpaper
- Flathead screwdriver
- New bumper clips
- Adhesive or glue
- Electrical tape
Make sure you have all these tools and materials ready before you start the repair process.
Safety Precautions
Repairing front bumper clips can be dangerous if proper safety precautions are not taken. Here are some safety tips to keep in mind:
- Wear a mask to avoid inhaling dust and debris while sanding the bumper.
- Wear gloves to protect your hands from cuts and bruises.
- Work in a well-ventilated area to avoid inhaling fumes from the adhesive or glue.
By following these safety precautions, you can ensure that you stay safe while repairing your front bumper clips.
Step-by-Step Guide to Fixing Broken Bumper Clips
Fixing broken bumper clips can seem like a daunting task, but with this step-by-step guide, you can do it yourself. Here are the three main steps you need to follow to repair or replace bumper clips.
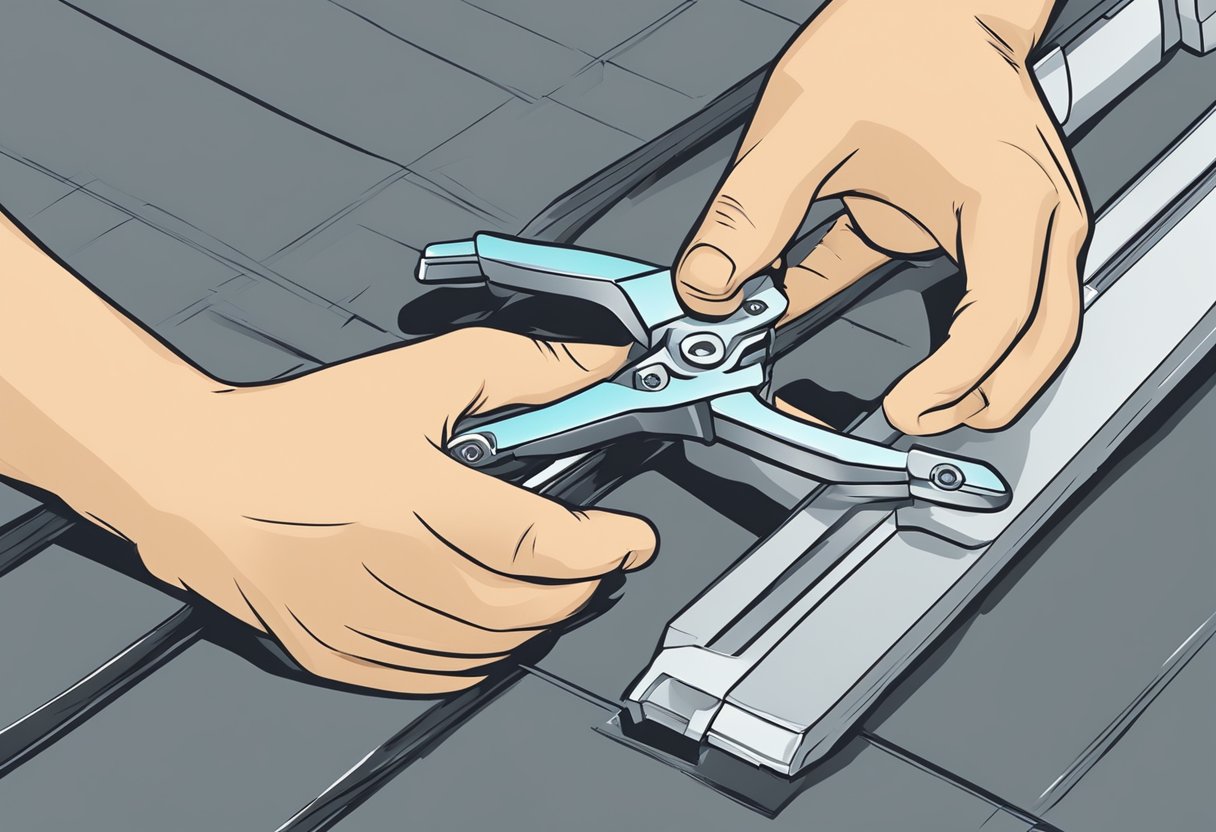
Assessing the Damage
The first step is to assess the damage to your bumper cover. Look for any visible cracks or damage to the clips. If the clips are broken, you will need to replace them. If they are just damaged, you may be able to repair them.
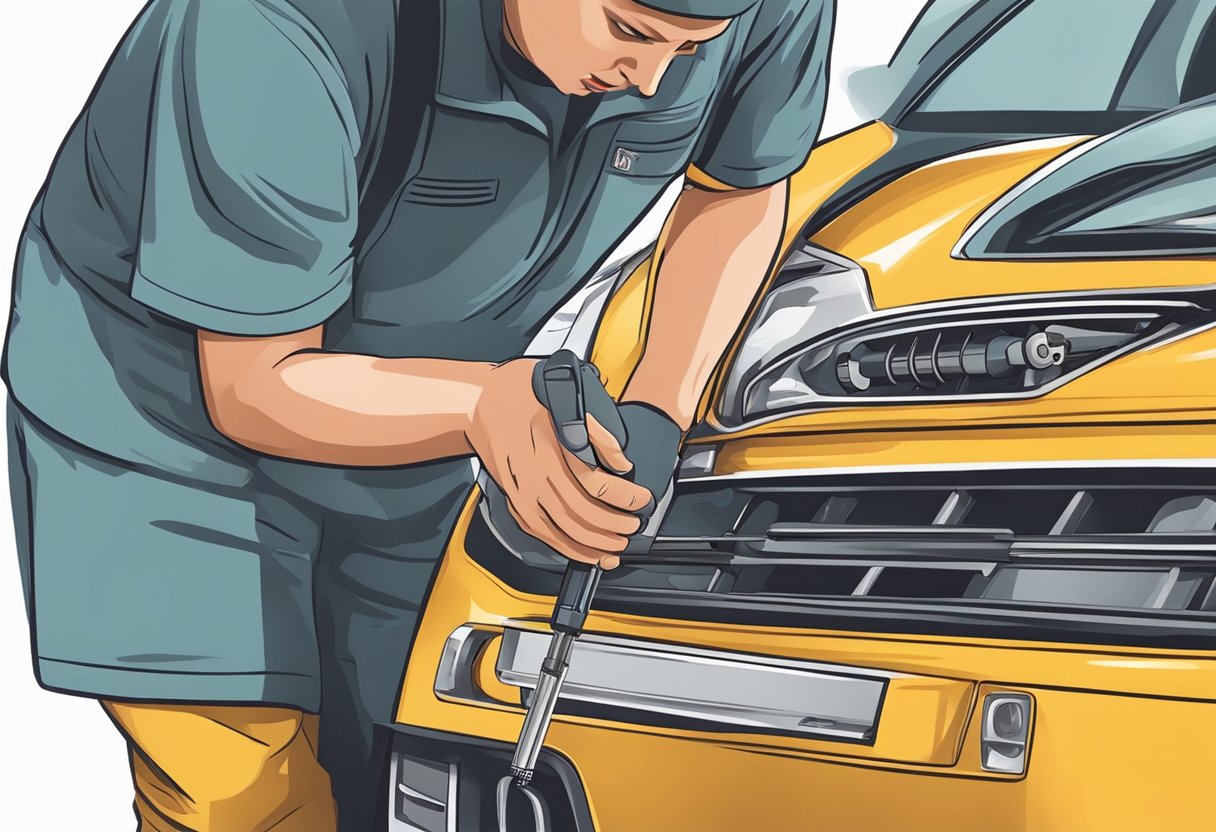
Removing the Bumper Cover
To access the bumper clips, you will need to remove the bumper cover. This can vary depending on the make and model of your car, so refer to your car’s manual for specific instructions. In general, you will need to remove any screws or bolts holding the bumper cover in place. Once you have removed the screws, gently pull the bumper cover away from the car. Be careful not to damage any other parts of the car.
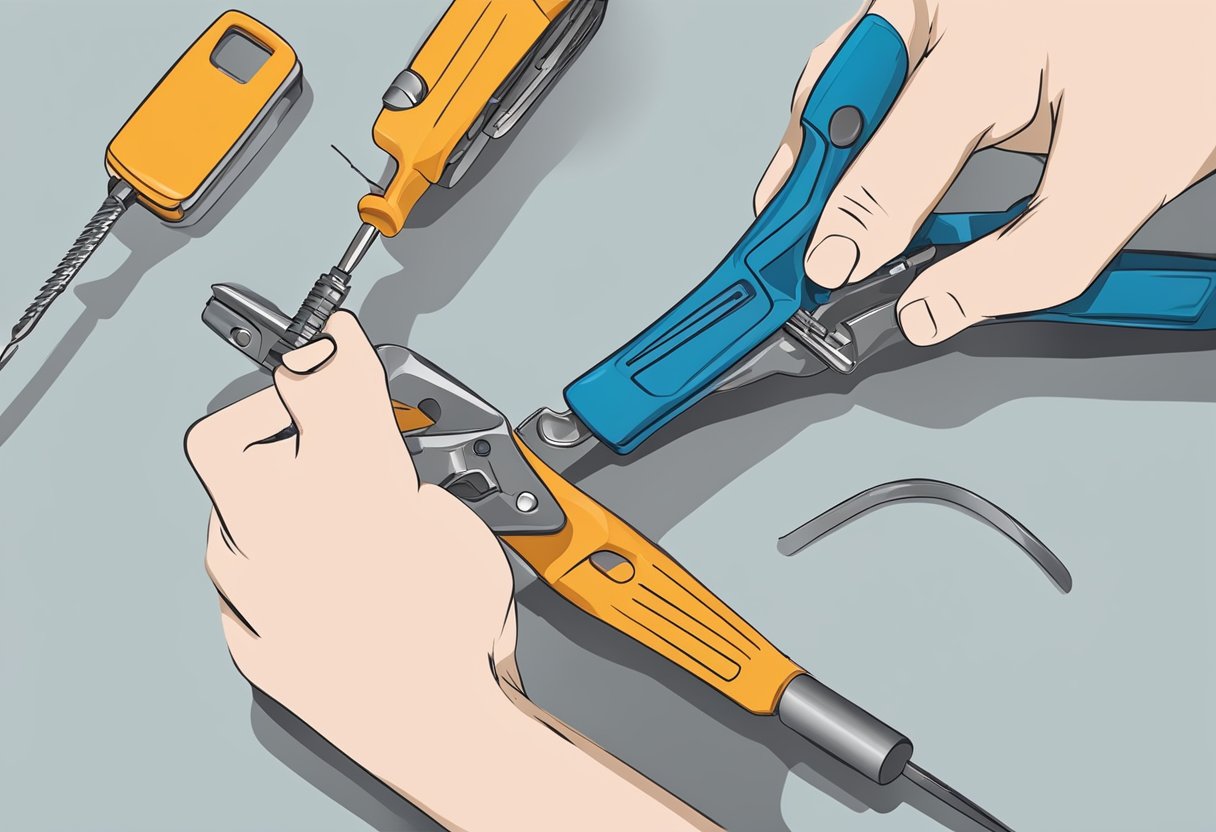
Repairing or Replacing Bumper Clips
Once you have removed the bumper cover, you can access the bumper clips. If the clips are just damaged, you may be able to repair them with a strong adhesive. However, if the clips are broken, you will need to replace them. To replace the clips, remove the broken clip from the bumper cover and replace it with a new one. Make sure the new clip is secure before reattaching the bumper cover.
In conclusion, fixing broken bumper clips is a relatively easy task that you can do yourself. By following this step-by-step guide, you can save money on repairs and have your car looking like new in no time.
What Type of Front Bumper Repair is Needed for Bumper Cover or Full Bumper?
When it comes to understanding bumper cover differences, it’s important to know what type of front bumper repair is needed. If only the bumper cover is damaged, a repair or replacement of just the cover may suffice. However, if the full bumper is affected, a more extensive repair may be necessary.
Finishing Touches
Once you have repaired your front bumper clip, it’s time to add some finishing touches to make it look as good as new. Here are some tips to help you sand and smooth your bumper and apply a clear coat.
Sanding and Smoothing
Before applying any clear coat, you need to sand and smooth the repaired area of your bumper. Use a fine-grit sandpaper, such as 400-grit or 600-grit, and sand the area in a circular motion. This will help smooth out any rough edges or bumps.
After sanding, wipe down the area with a clean cloth to remove any dust or debris. Then, use a plastic bumper repair kit to fill in any cracks or gaps in the bumper. Follow the manufacturer’s instructions for best results.
Once the repair kit has dried, sand the area again with a finer grit sandpaper, such as 800-grit or 1000-grit. This will help smooth out the surface and prepare it for the clear coat.
Applying Clear Coat
After sanding and smoothing the repaired area, it’s time to apply a clear coat. This will help protect the bumper and give it a glossy finish.
Choose a clear coat that is specifically designed for plastic bumpers. Apply the clear coat in thin, even layers, using a spray can or a paint gun. Be sure to follow the manufacturer’s instructions for best results.
Allow the clear coat to dry completely before touching or handling the bumper. This may take several hours, depending on the temperature and humidity.
In conclusion, sanding and smoothing your bumper and applying a clear coat can help make your front bumper clip repair look like new. Be sure to use the right sandpaper, plastic bumper repair kit, and clear coat for best results.
When to Seek Professional Help
While repairing front bumper clips can be a DIY project, there are certain situations where seeking professional help is necessary. If you lack experience in auto repair or are unsure about the extent of the damage, it is best to take your car to an auto body shop. A professional mechanic can assess the damage and provide you with an accurate estimate of the repair costs.
Also, if your car has a VIN (Vehicle Identification Number) that is linked to a warranty or insurance policy, it may be required that you seek professional help for repairs. Attempting to repair the front bumper clips yourself may void the warranty or insurance policy, leaving you with costly repairs that are not covered.
Finally, if the damage to your front bumper is severe or involves structural components, it is best to leave the repair to a professional. Structural damage can affect the safety of your vehicle, and attempting to repair it yourself could result in further damage or compromise the safety of your car.
In summary, while DIY repairs can be cost-effective and fulfilling, seeking professional help is recommended in situations where you lack experience, have a VIN linked to a warranty or insurance policy, or have severe or structural damage to your front bumper.
As an Amazon Associate we earn from qualifying purchases.


