


If you’re driving a vehicle with an OBD-II system, you might have encountered the P0110 code. This code indicates a problem with the Intake Air Temperature (IAT) sensor circuit. The IAT sensor is responsible for measuring the temperature of the air entering the engine. The information provided by the IAT sensor is used by the engine control module (ECM) to adjust the fuel injection and ignition timing. When the ECM detects a problem with the IAT sensor circuit, it triggers the P0110 code.

The P0110 code can be caused by a variety of issues related to the IAT sensor circuit. For example, a faulty IAT sensor or damaged wiring can cause the code to appear. On top of that, a malfunctioning powertrain control module (PCM) can also trigger the P0110 code. If you’re experiencing symptoms like poor engine performance or reduced fuel efficiency, it’s important to diagnose and fix the problem quickly. In this article, we’ll provide a troubleshooting guide for the P0110 code and help you get your vehicle back to peak performance.
Understanding P0110 and the IAT Sensor
What Is the P0110 Code?
If you are experiencing engine performance issues, the P0110 code may be the culprit. This code indicates that there is a malfunction in the Intake Air Temperature (IAT) sensor circuit. The IAT sensor is responsible for measuring the temperature of the air entering the engine. The information collected by the IAT sensor is used by the Engine Control Module (ECM) to calculate the air-fuel mixture and optimize engine performance.
When the IAT sensor circuit malfunctions, the ECM receives incorrect voltage input signals. This causes the ECM to incorrectly adjust the air-fuel mixture, which can result in poor engine performance, decreased fuel efficiency, and increased emissions.
Role of the Intake Air Temperature Sensor
The IAT sensor is a critical component of the engine control system. It is typically located in the air intake system, close to the throttle body. The IAT sensor measures the temperature of the air entering the engine and sends this information to the ECM. The ECM uses this information to adjust the air-fuel mixture and optimize engine performance.
The IAT sensor is an essential part of the engine control system, and a malfunction can result in poor engine performance, decreased fuel efficiency, and increased emissions. It is crucial to ensure that the IAT sensor is functioning correctly to maintain optimal engine performance.
In summary, the P0110 code indicates a malfunction in the IAT sensor circuit, which can result in poor engine performance, decreased fuel efficiency, and increased emissions. The IAT sensor is a critical component of the engine control system, and it is essential to ensure that it is functioning correctly to maintain optimal engine performance.
Common Symptoms and Consequences
If your vehicle’s onboard diagnostic system detects a problem with the Intake Air Temperature (IAT) sensor circuit, it will trigger the P0110 code. This code indicates that there is an issue with the IAT sensor circuit and that it is sending incorrect voltage input signals to the Engine Control Unit (ECU). Here are some of the common symptoms you may experience if you have a faulty IAT sensor circuit:
Check Engine Light and Engine Light On
The most common symptom of a faulty IAT sensor circuit is that the Check Engine Light will come on. This is because the onboard diagnostic system has detected a problem with the IAT sensor circuit and has stored the P0110 code. The Check Engine Light may come on immediately after the problem is detected or after a few driving cycles.
Impact on Engine Performance
A faulty IAT sensor circuit can also impact your engine’s performance. Since the IAT sensor helps the ECU determine the air density and temperature, a faulty sensor can cause the ECU to make incorrect calculations. This can result in poor engine performance, such as decreased power, poor fuel economy, and drivability issues. You may also experience backfiring or stalling.
It is important to note that the exact symptoms you experience may vary depending on the make and model of your vehicle. However, if you notice any of these symptoms, it is important to have your vehicle diagnosed by a qualified mechanic as soon as possible to prevent further damage to your engine.
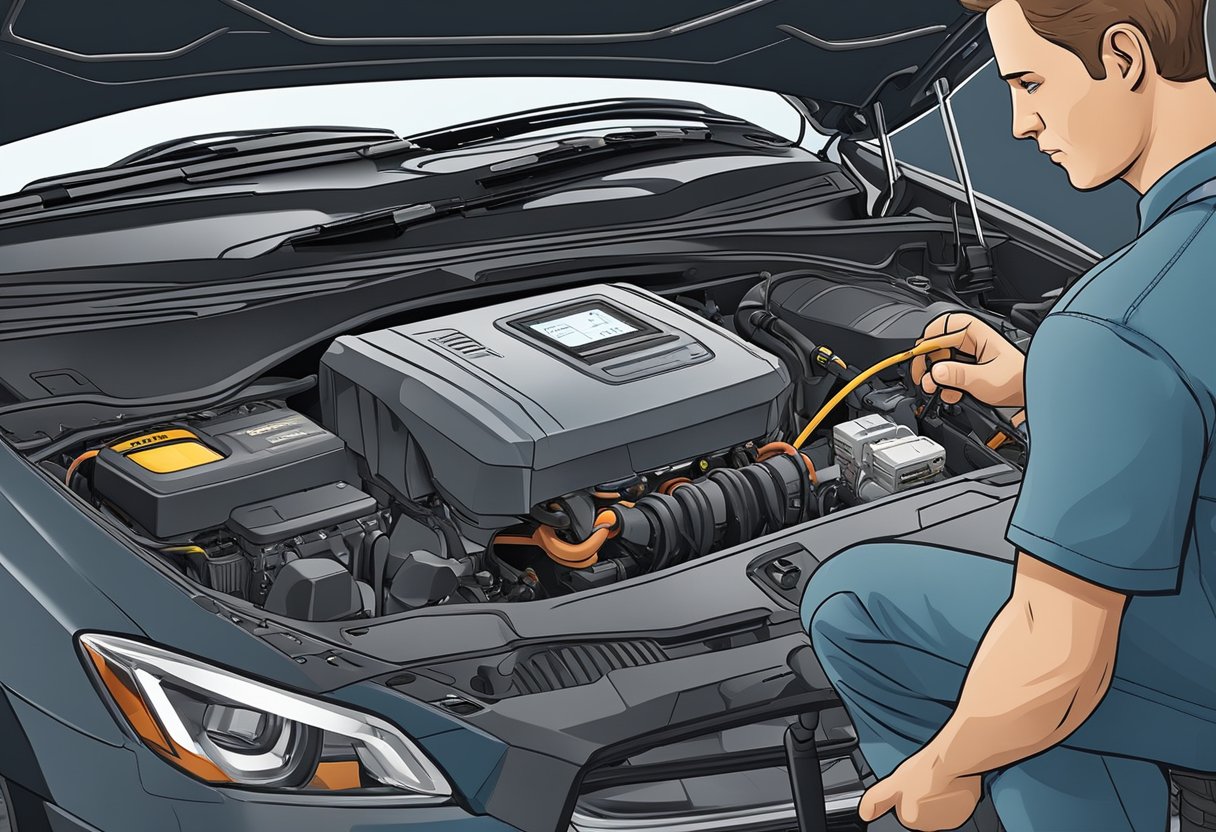
Diagnostic Procedures

When you encounter a P0110 code, there are two main diagnostic procedures you can use to troubleshoot the issue. These are using an OBD-II scanner and manual inspection steps.
Using an OBD-II Scanner
The first step in diagnosing a P0110 code is to use an OBD-II scanner to read the diagnostic trouble code (DTC) and any other relevant data. This will give you a better idea of what is causing the issue.
When using an OBD-II scanner, you should start by connecting the scanner to the OBD-II port on your vehicle. Once connected, you can use the scanner to read the DTC and any other relevant data, such as freeze frame data and live data.
If the scanner displays a P0110 code, you should take note of the freeze frame data and any other relevant data. This will help you to narrow down the cause of the issue.
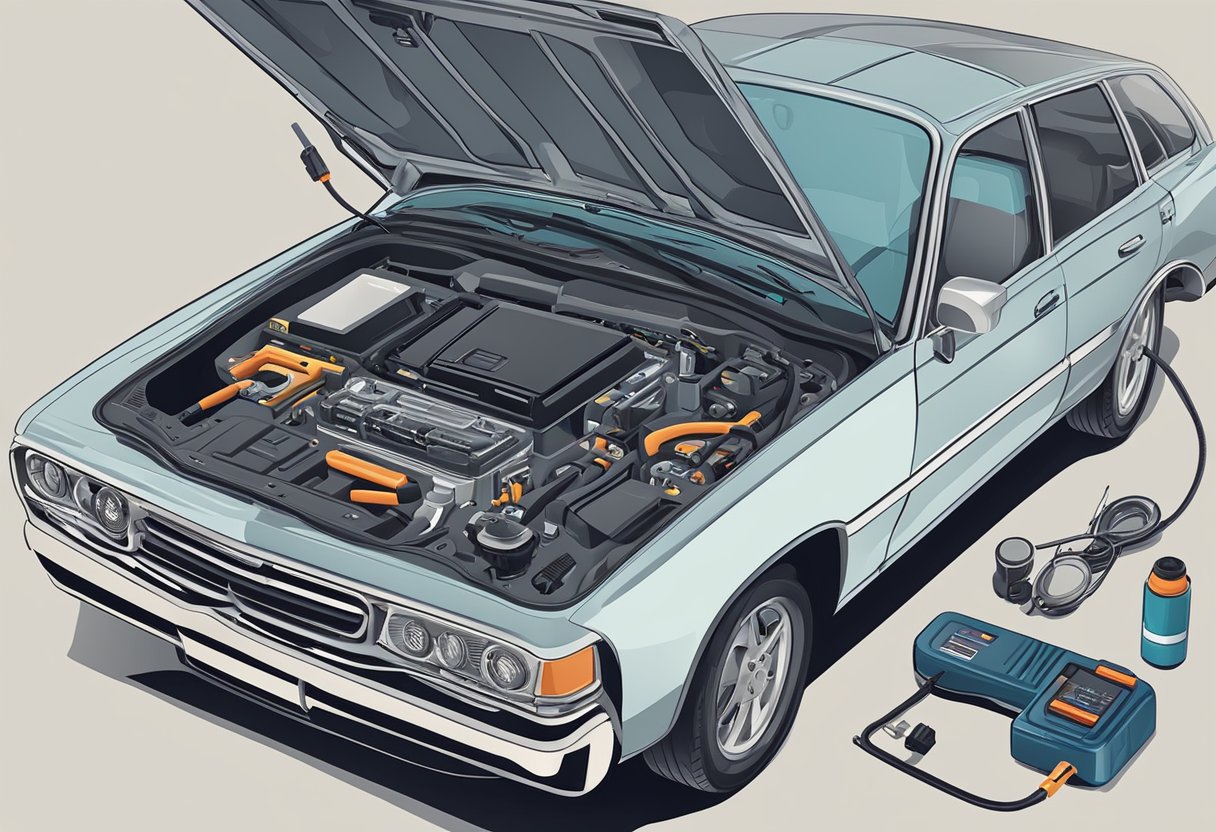
Manual Inspection Steps
If you do not have access to an OBD-II scanner, or if you want to perform a more thorough diagnosis, you can use manual inspection steps. This will involve visually inspecting the intake air temperature (IAT) sensor and its wiring.
To perform manual inspection steps, you should start by visually inspecting the IAT sensor and its wiring for any signs of damage or wear. This may involve removing the sensor and inspecting it for damage or wear.
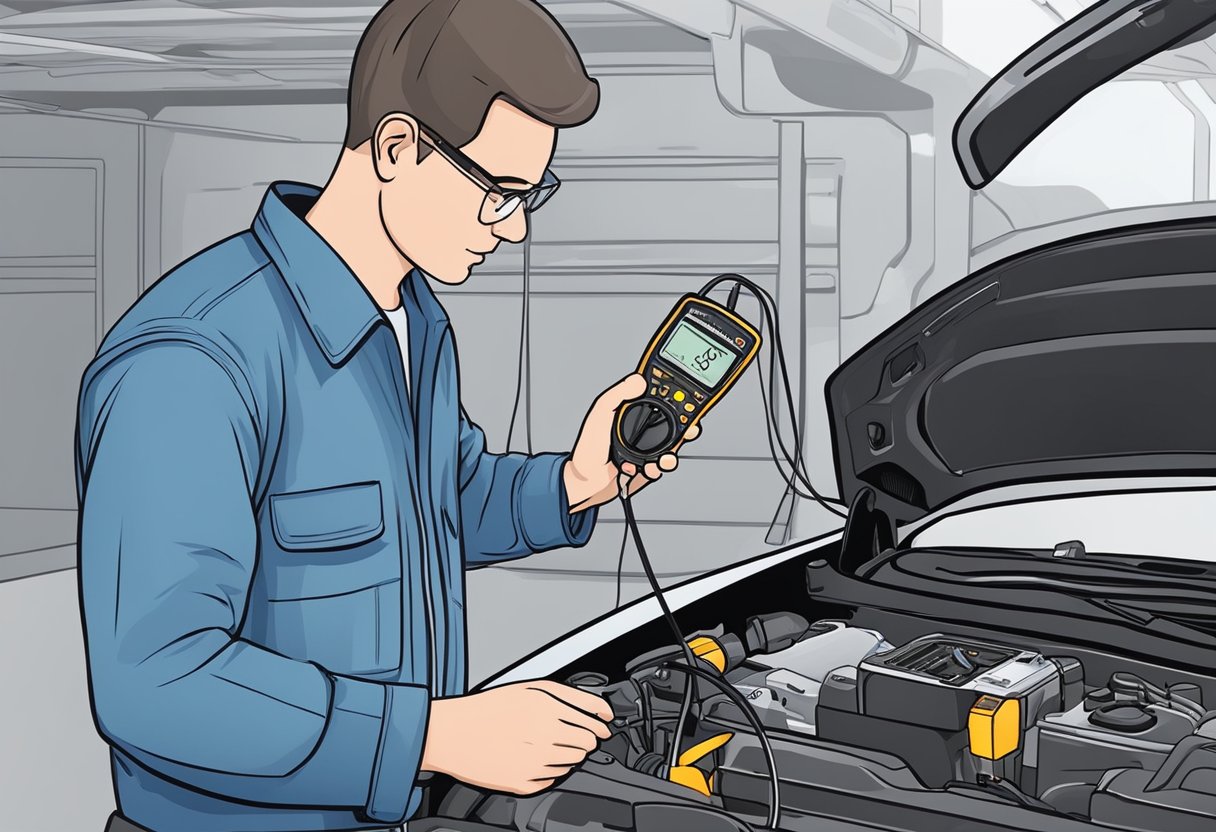
Once you have inspected the IAT sensor and its wiring, you can use a multimeter to test the sensor’s resistance and voltage. This will help you to determine if the sensor is functioning properly.
If you are still unable to determine the cause of the P0110 code, you may need to perform a KOEO (key on, engine off) test. This will involve testing the IAT sensor and its wiring with the key on and the engine off.
By using these diagnostic procedures, you can effectively troubleshoot a P0110 code and determine the cause of the issue.
How to troubleshoot and fix the IAT sensor related P0110 code?
When dealing with a P0110 code related to the IAT sensor, it’s important to check the oxygen sensor heater circuit insights to identify any issues. Start by inspecting the wiring and connections, and then test the sensor itself to determine if it needs to be replaced.
Troubleshooting and Repair Solutions
When you encounter the P0110 code, you’ll need to determine the cause of the issue before you can fix it. Here are some troubleshooting and repair solutions to help you diagnose and repair the problem.
Addressing Electrical Connection Issues
One of the most common reasons for the P0110 code is a problem with the electrical connection between the IAT sensor and the engine control module. If the connection is loose or corroded, it can cause the sensor to send incorrect signals to the engine control module, which can trigger the P0110 code.
To address this issue, start by inspecting the wiring and connector for any signs of damage or corrosion. If you find any damage, replace the wiring or connector as needed. If the wiring and connector are in good condition, try cleaning the connector with electrical contact cleaner to remove any corrosion that may be affecting the connection.
Sensor and Wiring Repair
If the electrical connection is not the issue, the next step is to check the IAT sensor and wiring. Start by inspecting the sensor for any signs of damage or wear. If the sensor is damaged, you’ll need to replace it with a new one.
If the sensor is in good condition, check the wiring harness for any signs of damage or wear. If you find any damage, repair or replace the wiring harness as needed.
When replacing the IAT sensor, make sure to use a high-quality replacement part that is designed for your specific make and model of vehicle. If you’re not comfortable performing the repairs yourself, it’s best to take your vehicle to a professional technician or mechanic who can diagnose and repair the issue for you.
Repair costs will vary depending on the extent of the damage and the amount of labor required to complete the repairs. However, by addressing the issue as soon as possible, you can prevent further damage to your vehicle and ensure that it runs smoothly for years to come.
Preventive Measures and Best Practices
When it comes to your vehicle’s IAT sensor, it is important to take preventive measures and follow best practices to ensure its longevity and optimal performance. Here are some essential preventive measures and best practices you should follow:
Routine Maintenance
Routine maintenance is essential to keep your IAT sensor in good condition. Regularly check and clean the sensor to remove any dirt and debris that may have accumulated on it. You should also inspect the sensor’s wiring and connectors for any signs of damage or corrosion. If you notice any issues, you should address them immediately to prevent further damage to the sensor.
Understanding Safety Recalls
It is important to stay informed about any safety recalls related to your vehicle’s IAT sensor. Check with the manufacturer or the National Highway Traffic Safety Administration (NHTSA) to see if there are any recalls that affect your vehicle. If there are, take your vehicle to the dealership to have the issue addressed.
Repair Manual and Factory Service Manuals
If you need to replace your IAT sensor, it is important to consult your vehicle’s repair manual or factory service manual. These manuals provide detailed instructions on how to replace the sensor, including the tools and parts you will need. Following the instructions in these manuals will help ensure that you replace the sensor correctly and prevent any damage to your vehicle.
By following these preventive measures and best practices, you can help ensure that your vehicle’s IAT sensor remains in good condition and performs optimally. Regular maintenance and staying informed about safety recalls can prevent issues from arising, while consulting the repair manual or factory service manual can help you replace the sensor correctly and avoid further damage to your vehicle.
As an Amazon Associate we earn from qualifying purchases.


