


To locate the spark plug, identify the rubber boot near the engine block. Find where the wire connects to the spark plug at the end. Ensure safety precautions, like gloves, and cool engine.
Gently disconnect the boot by twisting and pulling. Use a spark plug socket and ratchet to loosen and remove the plug. For proper insulation, apply dielectric grease around the spark plug boot entry.
Overcome access challenges by using flexible extensions and being patient. Regular maintenance is vital for top engine performance. Testing spark plugs is essential for identifying ignition issues early.
Mastering these steps ensures effective vehicle maintenance.
Key Takeaways
- Identify rubber boot connected to wire near engine block for spark plug location.
- Gently twist and pull the boot to disconnect it from the plug.
- Use spark plug socket and ratchet to carefully loosen and remove spark plug.
- Apply dielectric grease around spark plug boot entry for insulation.
- Utilize flexible extensions and tools for accessing and replacing spark plugs efficiently.
Tools Required
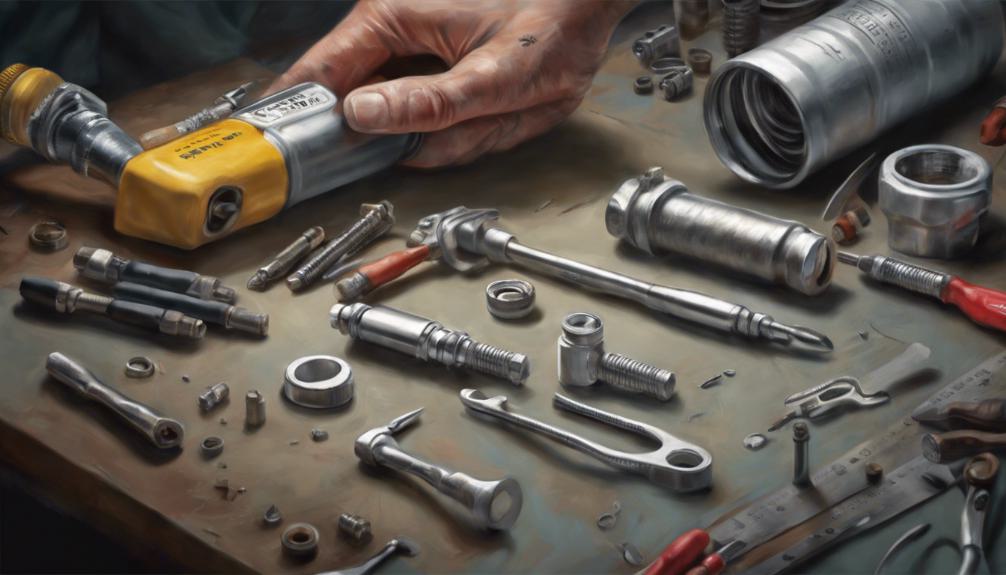
To locate the spark plug, you’ll need basic tools like a socket wrench with extensions and a 5/8 spark plug socket. The socket wrench allows you to reach and loosen the spark plug efficiently.
Before installing new spark plugs, it’s essential to apply anti-seize lubricant. This lubricant helps prevent the spark plug from seizing in the engine, making future removal easier.
Proper lubricant application ensures a smoother maintenance process and prolongs the lifespan of your spark plugs.
The socket wrench, combined with the 5/8 spark plug socket, provides a secure grip when removing and installing spark plugs. The rubber insert in the spark plug wrench aids in securely gripping the plug during these tasks.
By using the right tools and applying lubricant correctly, you can maintain your spark plugs effectively and promote optimal engine performance.
Step-by-Step Removal Process
If you’re ready to tackle the removal process, start by identifying the rubber boot attached to a wire near the engine block.
Follow this wire to locate where it connects to the engine, which will lead you to the spark plug at the end of the connection.
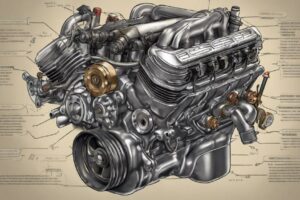
Typically, spark plugs are situated on the side or top of the engine’s cylinder head, but consulting your vehicle’s manual for specific location details is advisable.
When removing the spark plug, remember to take safety precautions such as wearing protective gloves and ensuring the engine is cool to prevent burns.
To avoid common mistakes, gently twist the boot while pulling to disconnect it from the plug, and use a spark plug socket and ratchet to carefully loosen and remove the spark plug.
After removal, consider cleaning techniques like inspecting the spark plug for any signs of damage or wear, and using a wire brush to clean off any debris around the spark plug hole.
These troubleshooting tips and cleaning techniques will help you successfully complete the removal process.
Applying Dielectric Grease

Applying dielectric grease around the boot entry of the spark plug guarantees proper insulation and maintains a reliable electrical connection.
When applying the grease, make sure to cover the entire circumference of the boot entry to create a tight seal that prevents moisture and contaminants from compromising the connection.
Remember to apply the grease before sliding the boot onto the spark plug; this step is essential for maximizing its effectiveness.
Rotating the boot after installation helps align it correctly with the ignition part, optimizing performance.
For grease application tips, use a small brush or your fingertip to evenly spread the grease around the boot entry. Avoid using too much grease as excessive amounts can attract dirt and lead to clogging.
Then, ensure not to get grease on the spark plug’s electrode tip as this can interfere with its function.
Common mistakes to avoid include skipping the dielectric grease application step, which can result in poor electrical connectivity and potential spark plug issues down the line.
Properly applying dielectric grease is vital to preventing electrical problems and maintaining the integrity of the spark plug connection.
Overcoming Access Challenges
Maneuvering around obstacles such as oil fill dipsticks and heater hoses can present a challenge when accessing spark plugs on the passenger side of a vehicle. To overcome these access challenges, consider the following tips:
- Use flexible extensions: These tools can help you navigate tight spaces and reach angled spark plugs more easily.
- Work patiently and methodically: Rushing can lead to mistakes or damage, so take your time to guarantee each step is done correctly.
- Consider removing obstructions: If possible, temporarily move aside components like heater hoses to create more space for your tools.
- Utilize a mirror or camera: Sometimes, using a mirror or a camera can help you see and navigate around obstacles that block direct line of sight.
Importance of Maintenance and Testing

Getting around potential obstacles during spark plug maintenance is essential to ensure peak engine performance.
Regular maintenance offers numerous benefits, such as ensuring ideal engine operation and preventing issues like poor fuel economy, misfires, and engine hesitation.
By conducting diagnostic procedures for testing spark plugs, you can identify ignition system problems early on, potentially averting more severe engine damage.
Testing also allows you to assess the condition of your spark plugs and determine if they need replacement or adjustment.
Ignoring maintenance could lead to costly repairs and decreased engine efficiency over time.
By staying proactive with maintenance and testing, you can extend the lifespan of your spark plugs and improve overall vehicle reliability.
Remember, investing time in these tasks now can save you from more significant headaches down the road.
As an Amazon Associate we earn from qualifying purchases.