


To replace the starter on a 2009-2014 Ford F-150, start by disconnecting the negative battery terminal with a wrench for safety. Spray rust penetrant on wires to ease removal.
Gently handle main and ground wires, disconnecting them from the starter. Carefully remove the starter bolts with the right tools to avoid damage.
Install the new starter by positioning it correctly and tightening the bolts. Remember, precision and caution are key for a successful starter replacement. Following these steps will guide you in fixing your Ford F-150’s starter effectively.
What You Need to Know
- Disconnect the negative battery terminal for safety.
- Spray rust penetrant on wires to ease removal.
- Handle main and ground wires with care.
- Remove starter bolts cautiously using appropriate tools.
- Install new starter securely, torquing bolts to 18 ft-lbs.
Disconnecting the Battery Terminal
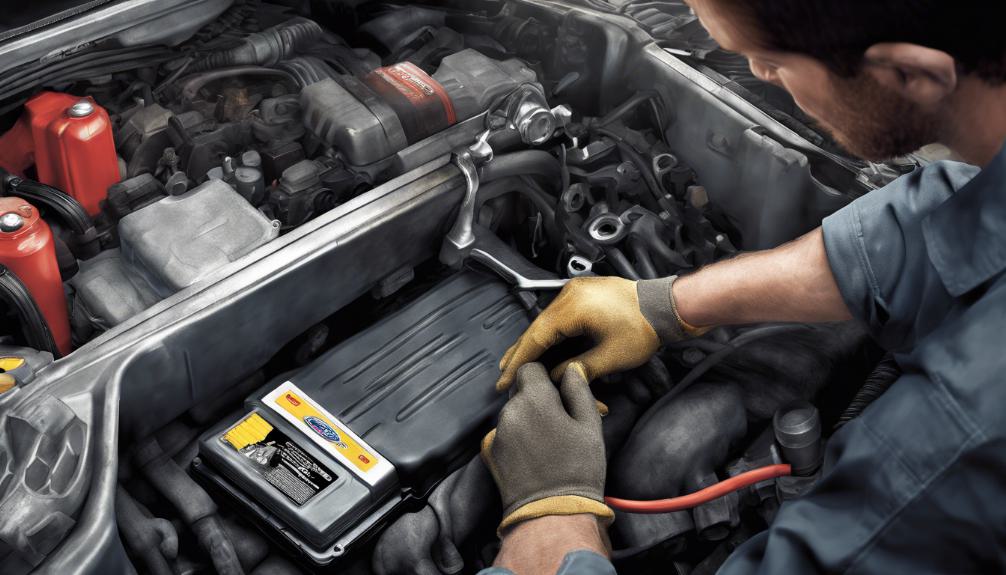
Before starting to replace the starter on your Ford F-150, disconnect the negative battery terminal using a wrench to ensure safety and prevent electrical hazards.
Safety precautions are essential when dealing with electrical components to avoid any potential accidents.
By ensuring the battery is disconnected, you minimize the risk of short circuits that could harm both you and the vehicle’s electrical system.
This step is a standard procedure in any electrical work to prevent accidental shocks and damage.
Taking this precautionary measure not only protects you but also safeguards the intricate electrical components of your truck during the starter replacement process.
Remember, your safety is paramount, so always prioritize following safety protocols like disconnecting the battery terminal before diving into any electrical repairs on your Ford F-150.
Spraying Rust Penetrant on Wires
To effectively prepare for removing wires connected to the starter on your Ford F-150, consider applying a rust penetrant to facilitate loosening and protection.
This step is essential for preventing rust and corrosion build-up, ensuring a smooth wire removal process.
Here are some key points to keep in mind:
- Rust prevention: By spraying rust penetrant on the wires, you can proactively combat rust formation, which can make the wires difficult to detach.
- Corrosion protection: The penetrant not only helps loosen the wires but also provides a protective layer that can prevent future corrosion, extending the lifespan of your vehicle’s components.
- Ease of removal: Applying the rust penetrant in advance allows it to break down any existing rust and grime, making it easier to disconnect the wires without causing damage.
This proactive approach can save you time and effort during the starter replacement process.
Removing Main and Ground Wires
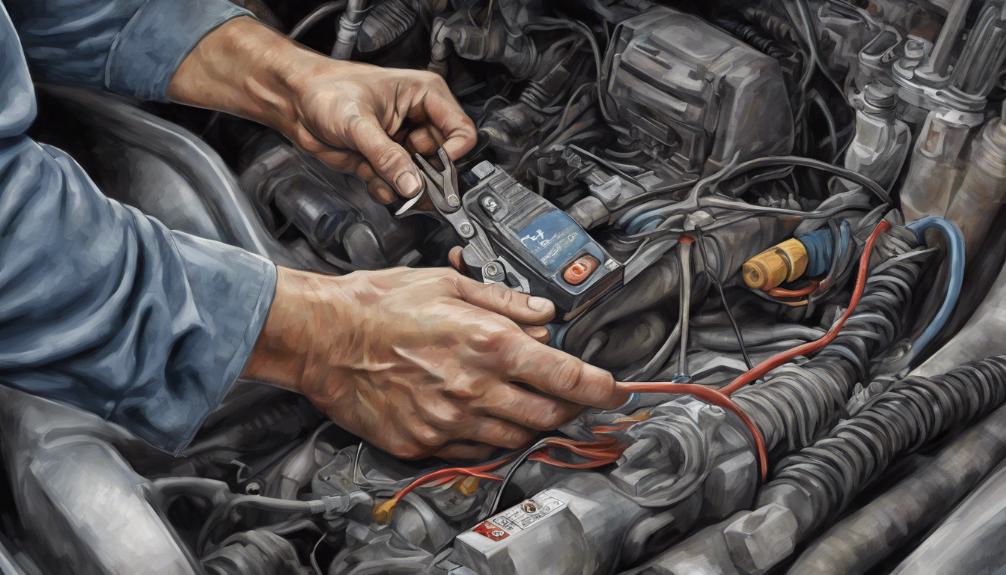
When removing the main and ground wires from your Ford F-150 starter, make sure you handle them carefully to facilitate a smooth replacement process without causing damage to the electrical components.
Start by identifying the main wires located at the bottom of the starter. These wires are important for the starter’s operation and need to be disconnected gently.
To remove the ground wire connected to the engine block, use caution to avoid any strain on the wire or the connection point.
Proper handling of these wires ensures that you can proceed with the starter removal without complications.
Remember, these electrical connections are essential for the starter to function correctly, so treat them with care.
By taking your time and being gentle, you can avoid any potential damage to the wires or the surrounding components.
Prioritize safety and precision when dealing with the main and ground wires during this process.
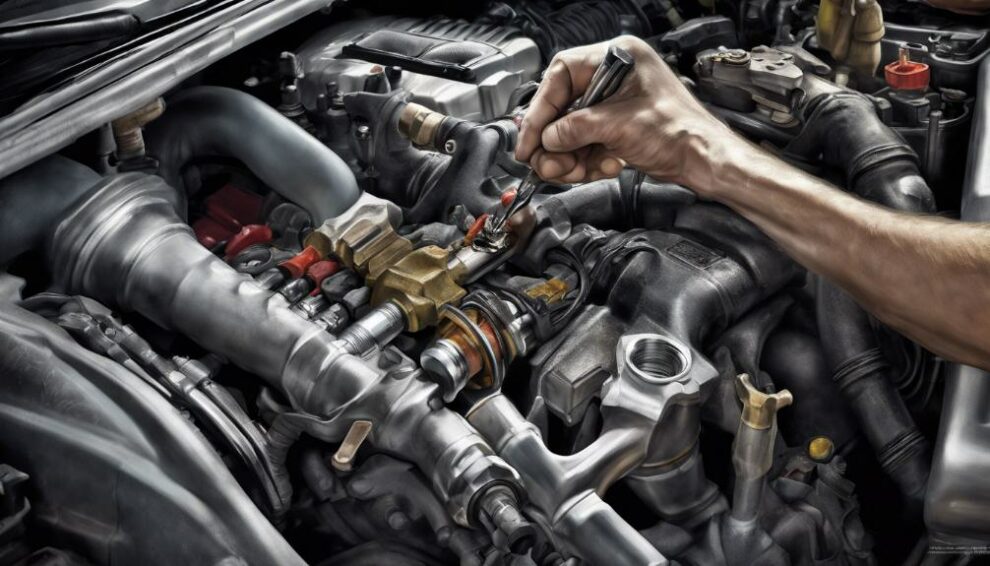
Removing Starter Bolts
With a 13mm wrench, carefully remove the lower starter bolt on your 2009-2014 Ford F-150. This bolt plays an important role in securing the starter motor to the engine block. Here’s how to proceed:
- Use the Right Tools: Employ a stubby wrench for better leverage when tackling the lower bolt. This will make the removal process smoother and more efficient.
- Accessing the Top Bolt: To reach the top starter bolt, make use of a 6-inch extension and swivel. This setup will provide you with the necessary reach and flexibility to work in the confined space around the starter motor.
- Handle with Care: The top bolt may be harder to access due to limited space in the starter area. Carefully break it free to avoid damaging other components and ensure a smooth removal process.
Installing the New Starter
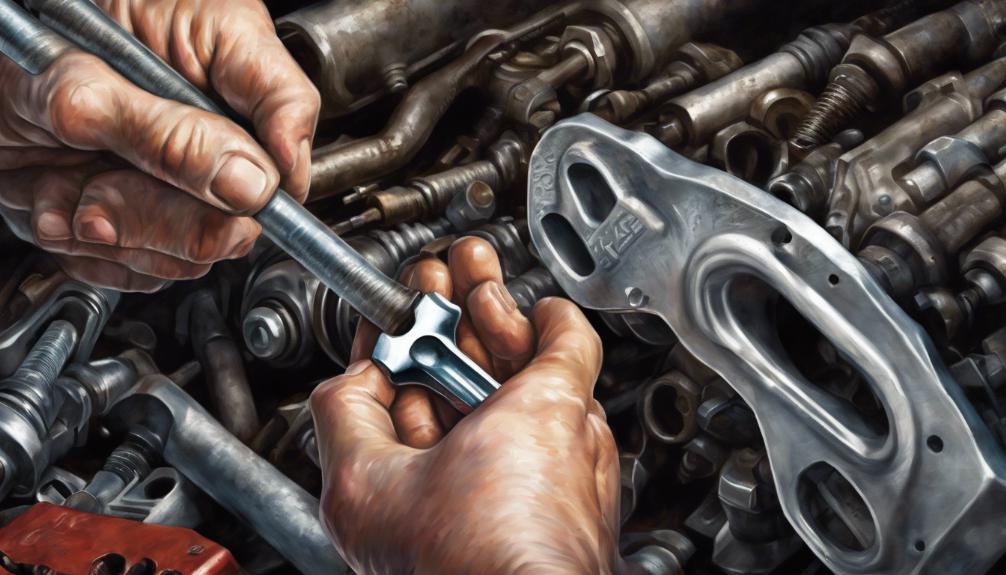
Carefully maneuver the new starter into position between the frame and exhaust components for best placement. Confirm the wiring connections are accessible and not pinched between the starter and the engine block.
Begin by threading in the lower bolt or stud first to align the new starter correctly. Then, secure the side bolts to hold the starter in place before tightening everything.
Remember to torque all bolts to the recommended specification of 18 foot-pounds for a snug and secure fit.
Double-check the wiring connections to make sure they’re properly seated and free of any obstructions.
Once the starter is securely in place and all connections are verified, you can proceed with the starter motor installation.
After completing the installation, conduct a final inspection to confirm that everything is correctly positioned before testing the functionality of the new starter.
This detailed process will help guarantee a successful replacement and top-notch performance of your Ford F-150.
As an Amazon Associate we earn from qualifying purchases.


