


As you prepare to tackle the task of replacing motor mounts on your vehicle, a step-by-step guide can be invaluable.
Ensuring you have the right tools and safety precautions in place is just the beginning of this detailed process.
From lifting and supporting the engine to the careful installation of new mounts, each stage demands precision and care. But what about the unexpected challenges that might arise during the replacement?
Key Points
- Inspect old mounts for wear before removal
- Secure engine properly during mount replacement
- Follow torque specs for bolt tightening
- Transfer components carefully to new mounts
- Align and install new mounts precisely
Tools and Safety Precautions

To begin replacing motor mounts, make sure you have the necessary tools and safety gear ready for the job.
Tool organization is vital for efficiency; arrange your wrenches or sockets for bolt removal and have a universal joint and long extension handy to reach hard-to-access bolts effectively.
Set up your workbench with a jack and blocks of wood for engine support to prevent damage. Prioritize safety by wearing appropriate gear – safety checklist: gloves, goggles, and sturdy shoes.
Hazard awareness is key, so be mindful of potential risks like hot engine parts and moving components.
Before starting, ensure you have a thorough safety checklist in place. Tighten all bolts securely to prevent mount failure and ensure stability.
Following these steps won’t only make the process smoother but also guarantee a safe working environment. By being organized and safety-conscious, you’re setting yourself up for a successful motor mount replacement.
Vehicle Preparation
Before commencing the motor mount replacement process, make sure the vehicle is parked on a flat surface to maintain stability throughout the procedure.
It’s important to conduct a thorough motor mount inspection to identify any signs of wear or damage that may require replacement.
Common issues with motor mounts include cracking, sagging, or excessive movement, which can lead to increased engine vibration and noise.
To prepare the vehicle for motor mount replacement, disconnect the battery to prevent accidental engine starts while working on the mounts.
Also, place wheel chocks behind the rear wheels to prevent any unintended movement of the vehicle during the procedure. Engage the parking brake to secure the vehicle in place before starting the replacement.
It’s essential to wear appropriate safety gear such as gloves and safety glasses to protect yourself during the replacement process.
By following these preparation steps, you can guarantee a safe and effective motor mount replacement process.
Lifting and Supporting the Engine
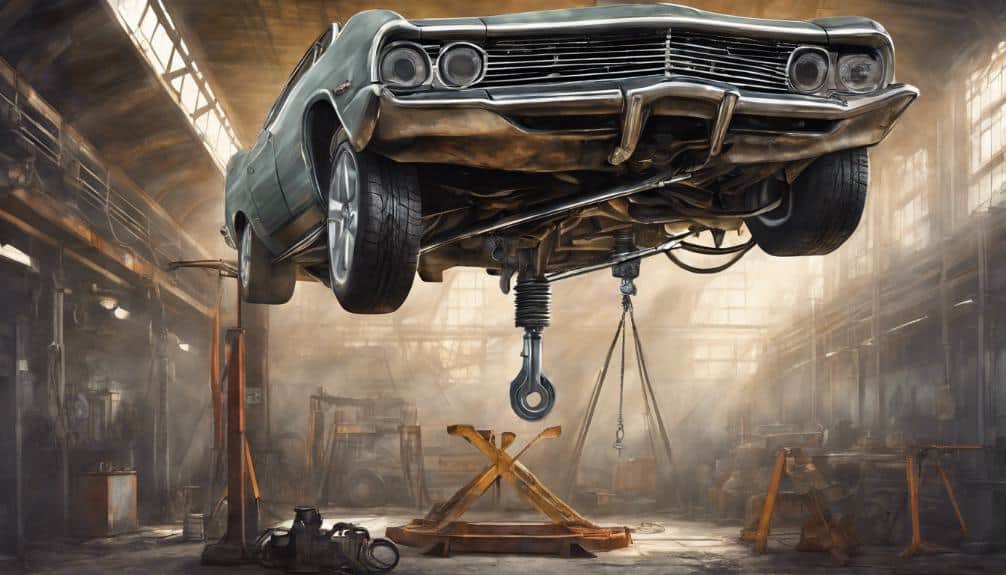
For important and efficient engine mount replacement, guarantee proper support by using an OEM car jack to lift the engine, placing a buffer like a piece of wood between the jack and the engine for stability.
Engine stability is vital during this step to prevent any mishaps. Make sure the weight distribution is even to avoid putting unnecessary stress on specific parts of the engine.
When positioning the jack, be mindful of where you place it to lift the engine safely. The buffer material, such as a piece of wood, acts as a protective layer between the jack and the engine, reducing the risk of damage.
Proper support not only ensures the safety of the engine but also makes the replacement process smoother.
Are the Steps for Replacing a Car Battery Cable Similar to Replacing Motor Mounts?
Yes, the stepbystep car battery cable replacement process is similar to replacing motor mounts. Both procedures require lifting the vehicle, disconnecting the old part, installing the new one, and reassembling the vehicle. However, ensure to consult the vehicle’s manual or seek professional assistance for specific instructions.
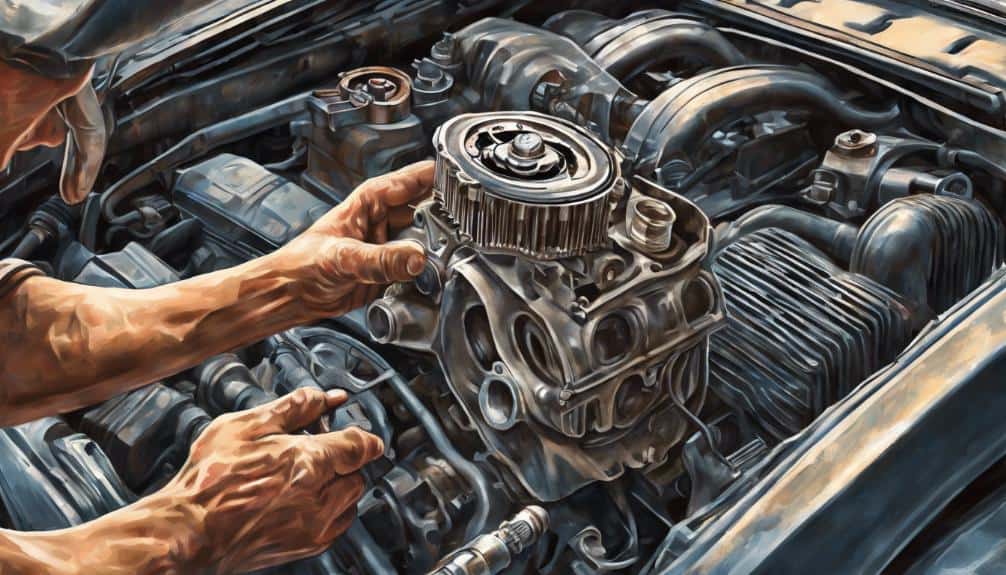
Removing Old Motor Mounts
When removing the old motor mounts, make sure to provide proper support for the engine with a jack and blocks of wood, and use the appropriate tools to loosen the securing bolts.
Start by inspecting the rubber part of the mounts for any cracks, damage, or signs of wear. This step is vital as worn-out rubber can lead to excessive engine movement and vibrations.
By checking the condition of the rubber, you can guarantee a smoother replacement process and prevent damage to other components.
As you begin loosening the bolts, remember to lift the engine gradually to avoid sudden movements. Slow and steady removal of the motor mounts will help maintain control over the engine positioning.
Once the old mounts are detached, compare them to the new mounts. Transfer any necessary components like heat shields from the old mounts to the new ones.
This careful comparison and component transfer will ensure that the replacement process proceeds smoothly and efficiently.
Installing New Motor Mounts
To guarantee a secure and precise installation of the new motor mounts, align them carefully with both the engine and the vehicle frame. Here are some key tips for this process:
- Alignment tips: Confirm the motor mounts are perfectly aligned with the mounting holes on both the engine and the frame to prevent any misalignment issues.
- Torque specifications: Refer to the vehicle manual to find the specific torque requirements for tightening the bolts correctly, as over-tightening can cause damage.
- Bolt types: Make sure to use the correct size and type of bolts and nuts to secure the motor mounts properly in place for best performance.
- Lubrication techniques: Apply lubricant to the bolts before installation to make tightening them easier and smoother, reducing the chances of cross-threading or damaging the threads.
Following these tips will help guarantee a successful installation of your new motor mounts.
Final Checks and Testing
Double check that all bolts are securely tightened after replacing the motor mounts before proceeding with the final checks and testing.
Once you have confirmed that everything is properly secured, start the vehicle and pay close attention to any abnormal vibrations or noises. These could be signs of improper installation.
Take the car for a test drive to evaluate the engine’s stability and smoothness. Look out for any excessive engine movement or unusual sounds while driving, as these could indicate underlying issues.
It’s important to monitor the motor mounts periodically to verify they’re functioning correctly and maintaining stability over time.
If you encounter any problems during testing, consider revisiting the installation process to troubleshoot and address any issues that may arise.
As an Amazon Associate we earn from qualifying purchases.


