


If you are experiencing issues with your car’s battery, it could be due to a faulty battery cable. A damaged or corroded cable can prevent your battery from charging properly, leading to starting problems or even a dead battery. Fortunately, replacing your car’s battery cables is a DIY task that can be completed with a few basic tools and some careful attention to detail.
Before you begin, it’s important to make sure you have the right tools and supplies on hand. You’ll need a set of wrenches or pliers, a wire brush or sandpaper, and a replacement battery cable that’s the same length and gauge as the original. You may also want to have a battery terminal cleaner and some dielectric grease on hand to help prevent future corrosion.
Once you have your supplies, you can begin the process of replacing your car’s battery cables. This involves disconnecting the old cables from the battery, removing any clamps or fasteners that hold them in place, and installing the new cables in their place. With a little patience and attention to detail, you can have your car’s battery cables replaced and your vehicle running smoothly once again.
Understanding Car Battery Cables
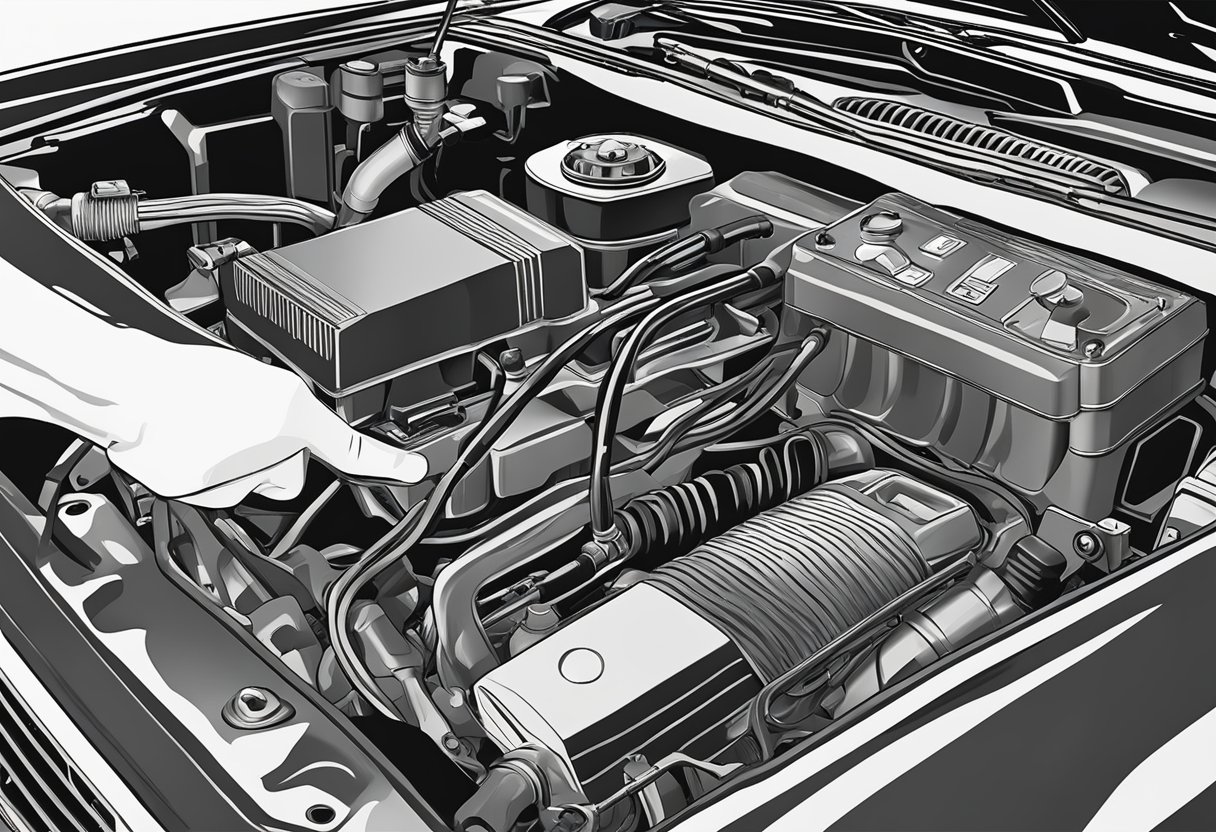
If you’re experiencing starting issues with your car, it could be due to worn-out battery cables. The battery cables are an essential component of your car’s electrical system, responsible for transmitting electrical power from the battery to the starter motor and the car’s electrical system. In this section, we’ll discuss the function of battery cables and the signs of worn battery cables.
Function of Battery Cables
The battery cables are responsible for transmitting electrical power from the battery to the starter motor and the car’s electrical system. The positive battery cable, which connects the battery to the starter motor and the car’s electrical system, is a wire covered in a red casing. The negative battery cable, sometimes referred to as the “ground strap” or “ground cable,” is a wire covered in a black casing.
Signs of Worn Battery Cables
Over time, battery cables can become worn out and corroded, leading to starting issues and other electrical issues. Here are some signs that your battery cables may need to be replaced:
- Your car is slow to start or won’t start at all.
- You hear a clicking sound when you turn the key in the ignition.
- Your headlights are dim, or your car’s electrical system is acting up.
If you’re experiencing any of these issues, it’s important to have your battery cables inspected by a professional mechanic. They can determine whether your battery cables need to be replaced and ensure that your car’s electrical system is functioning properly.
In summary, understanding the function of battery cables and the signs of worn battery cables can help you diagnose starting issues and other electrical issues with your car. If you’re experiencing any of these issues, it’s important to have your battery cables inspected by a professional mechanic to ensure that your car’s electrical system is functioning properly.
Safety Precautions and Preparation

Before you begin the process of replacing your car battery cables, it’s important to take some safety precautions and prepare your work area. Here are some important steps to follow:
Protective Gear
First, make sure you have the necessary protective gear. Wear safety glasses to protect your eyes from any sparks or battery acid that may come into contact with them. Gloves will protect your hands from potential cuts and battery acid.
Preparing the Work Area
Next, park your car in a safe, flat area. Make sure the engine is turned off. Set the parking brake and chock the rear wheels to prevent the car from rolling.
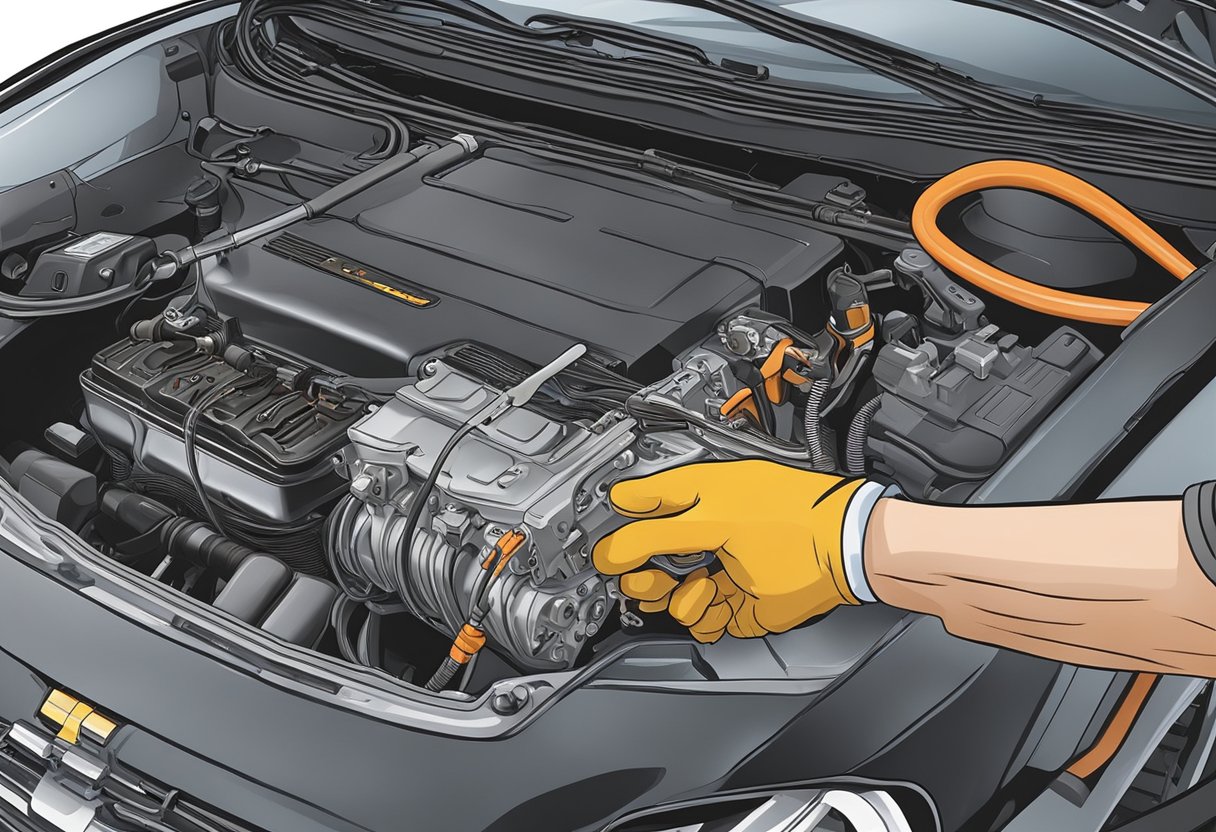
Before you start, you should also disconnect the battery. Begin by removing the negative battery cable from the battery. Isolate the cable so that it cannot make contact with the battery. Then, remove the positive battery cable from the battery. This will prevent any electrical shocks or damage to your car’s electrical system.
Once you have disconnected the battery, you can begin to remove the old battery cables. It’s important to clean the connection points before installing the new cables. Use a wire brush to remove any corrosion or debris from the battery posts and cable ends. This will ensure a good connection between the battery and the cables.
By following these safety precautions and preparing your work area, you can ensure a safe and successful DIY car battery cable replacement.
Tools and Materials
Required Tools
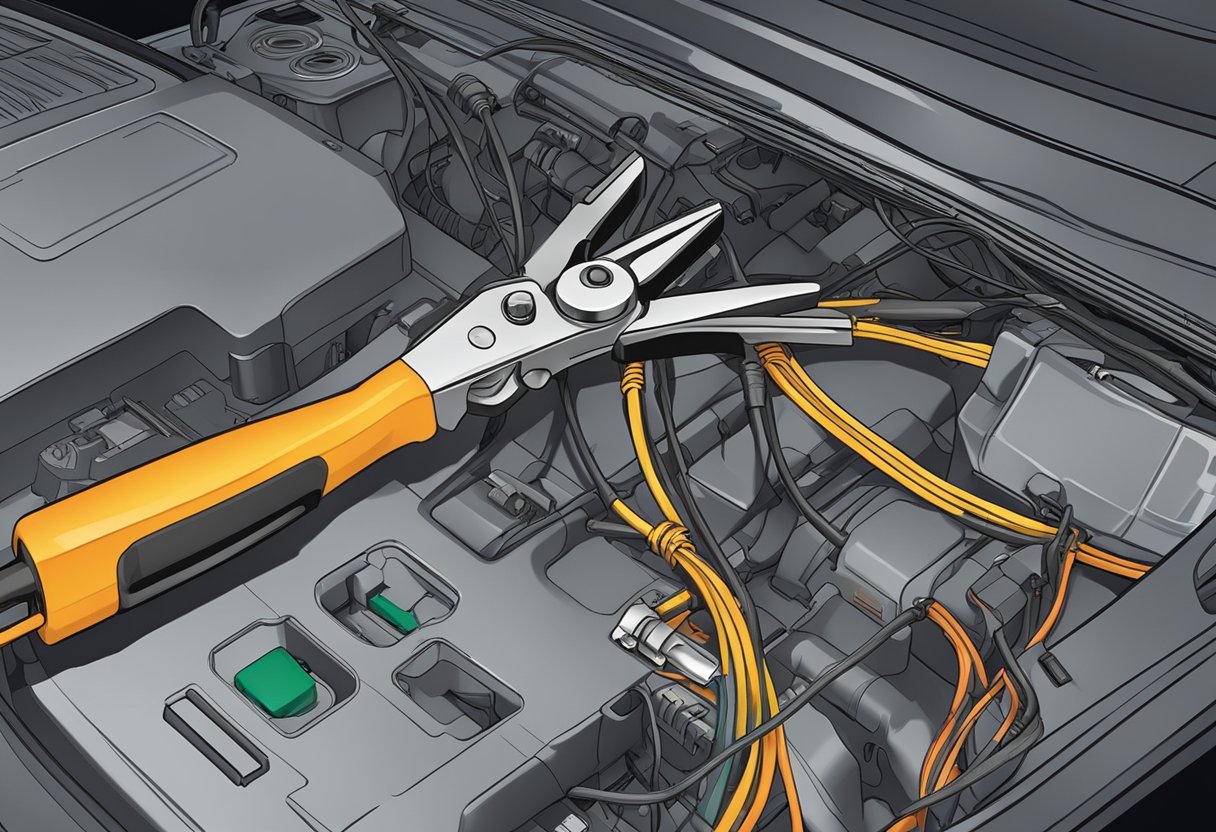
Before you start with the DIY car battery cable replacement, you need to have a few essential tools. These tools will help you remove the old cables and install the new ones. Here are the tools required:
- Wrench
- Wire brush
- Socket wrench
- Ratchet
- Sandpaper
Materials Needed
Apart from the tools, you also need a few materials to replace the battery cables. These materials will help you clean the battery terminals and prevent corrosion. Here are the materials needed:
- Baking soda/water solution
- Anti-corrosive spray
- Heat-shrink tubing
It is essential to clean the battery terminals before installing the new cables. To clean the terminals, mix baking soda and water to make a solution. Use a wire brush to scrub the terminals with the solution. After cleaning, rinse the terminals with water and let them dry.
Once the terminals are dry, apply an anti-corrosive spray to prevent corrosion. This spray will protect the terminals and ensure a longer life for your battery cables.
Finally, you need heat-shrink tubing to cover the cable connections. This tubing will protect the connections from moisture and prevent corrosion. Use a heat gun to shrink the tubing over the connections.
With the required tools and materials, you’re ready to replace your car battery cables.
Can Understanding Car Battery Gauge Readings Help with DIY Cable Replacement?
Understanding car battery gauge readings can definitely help with DIY cable replacement. By monitoring the gauge, you can determine the overall health and charge level of your car battery. This information can guide you in safely disconnecting and replacing the cables without causing damage to the battery.
Removing the Old Battery Cables

Before installing new battery cables, you must remove the old ones. This process involves locating and accessing the battery, detaching the cables, and cleaning the terminals. Here’s how to remove the old battery cables:
Locating and Accessing the Battery
The battery is usually located in the engine compartment, either on the driver’s side or passenger’s side. Once you have located the battery, you need to access it. You may need to remove a cover or other components to access the battery. Make sure you have enough space to work and that the engine is turned off.
Detaching the Cables
The next step is to detach the cables from the battery terminals. You should always start with the negative cable first. Use a wrench to loosen the nut that holds the negative cable in place. Once the nut is loose, you can slide the cable off the terminal. Be careful not to touch the positive terminal with the wrench or any other metal object, as this can cause a short circuit.
After removing the negative cable, you can move on to the positive cable. Use the same process to remove the nut and slide the cable off the terminal. If the cables are stuck, you can use a battery cable puller to remove them. This tool is designed to grip the cable and pull it off the terminal without damaging the cable or terminal.
Once you have removed both cables, you can remove the battery from the engine compartment. You may need to remove any securing mechanism at the base or top of the battery before you can remove it. Be careful when handling the battery, as it can be heavy and contain dangerous chemicals.
Installing New Battery Cables
Now that you have removed the old battery cables, it’s time to install the new ones. This process involves preparing new cables and connecting and securing them to the battery terminals.
Preparing New Cables
Before you install new cables, make sure to inspect them for any defects or damages. Also, ensure that the new cables are the correct size and length for your car’s battery. Once you have confirmed this, follow these steps to prepare the new cables:
-
Strip the ends of the new cables to expose the metal wire inside. Use wire strippers to do this.
-
Bend the exposed wire into a hook shape. This will make it easier to connect the cables to the battery terminals.
-
Install the battery connectors onto the ends of the cables. Make sure that they fit snugly and securely.
Connecting and Securing New Cables
Now that you have prepared the new cables, it’s time to connect and secure them to the battery terminals. Follow these steps:
-
Connect the positive cable to the positive battery terminal. Use a terminal clamp to secure it in place.
-
Connect the negative cable to the negative battery terminal. Use a terminal clamp to secure it in place.
-
Tighten the terminal clamps with a wrench. Make sure that they are snug and secure.
-
Inspect the electrical connection to ensure that it is tight and secure.
-
Finally, test the electrical components of your car to ensure that they are working properly.
By following these steps, you can successfully install new battery cables for your car. Remember to always take safety precautions when working with electrical components.
As an Amazon Associate we earn from qualifying purchases.


