If you’ve ever experienced sudden warning lights flashing on your dashboard or noticed a change in your vehicle’s traction control, you might be dealing with a failing ESP pressure sensor. The consequences can lead to unpredictable braking patterns, which is why understanding the steps for sensor replacement is essential. But what happens next after you’ve gathered the necessary tools and are ready to proceed with the replacement?
Key Points
- Symptoms include dashboard warning lights, loss of traction control, erratic braking, reduced stability, and compromised vehicle control.
- Tools needed: spanners (10-15mm), sockets (10-21mm), pliers, screwdriver, and wheel removal tools.
- Replacement steps: access sensor, disconnect wiring, remove mounting bolts, extract old sensor, install new sensor, reconnect wiring, and calibrate ABS system.
- Calibration ensures accurate readings, prevents performance issues, and enhances system performance following manufacturer guidelines.
- Tips for success: identify sensor location, ensure compatibility, use proper tools, bleed ABS system correctly, consider professional help if unsure.
Symptoms of ESP Pressure Sensor Failure
Experiencing dashboard warning lights illuminating, such as ABS and ESP indicators, is a common sign of ESP pressure sensor failure. When the ESP pressure sensor malfunctions, it can lead to a range of issues affecting your vehicle’s safety and performance.
One of the primary symptoms is the illumination of the ABS and ESP warning lights on your dashboard. These warnings indicate a disruption in the monitoring and adjustment of hydraulic pressure in the braking system, essential for traction control and stability. As a result, you may notice a loss of traction control, erratic braking behavior, and reduced vehicle stability.
These symptoms can compromise your ability to maintain control of the vehicle, especially in challenging driving conditions. Hence, it’s important to address sensor failure promptly to restore the proper operation of your ABS and ESP systems and safeguard your safety on the road.
Tools Required for Replacement
To successfully replace the ESP pressure sensor, you’ll need the following tools:
- Spanners ranging from 10-15mm
- Sockets ranging from 10-21mm
- Pliers
- Screwdriver
- Wheel removal tools
Whats more, a repair kit, laptop with VCDS cable, and brake fluid (DOT4) are essential for the replacement process. Understanding how to purge the ABS system and having the car’s radio code on hand may also be necessary for a smooth sensor replacement.
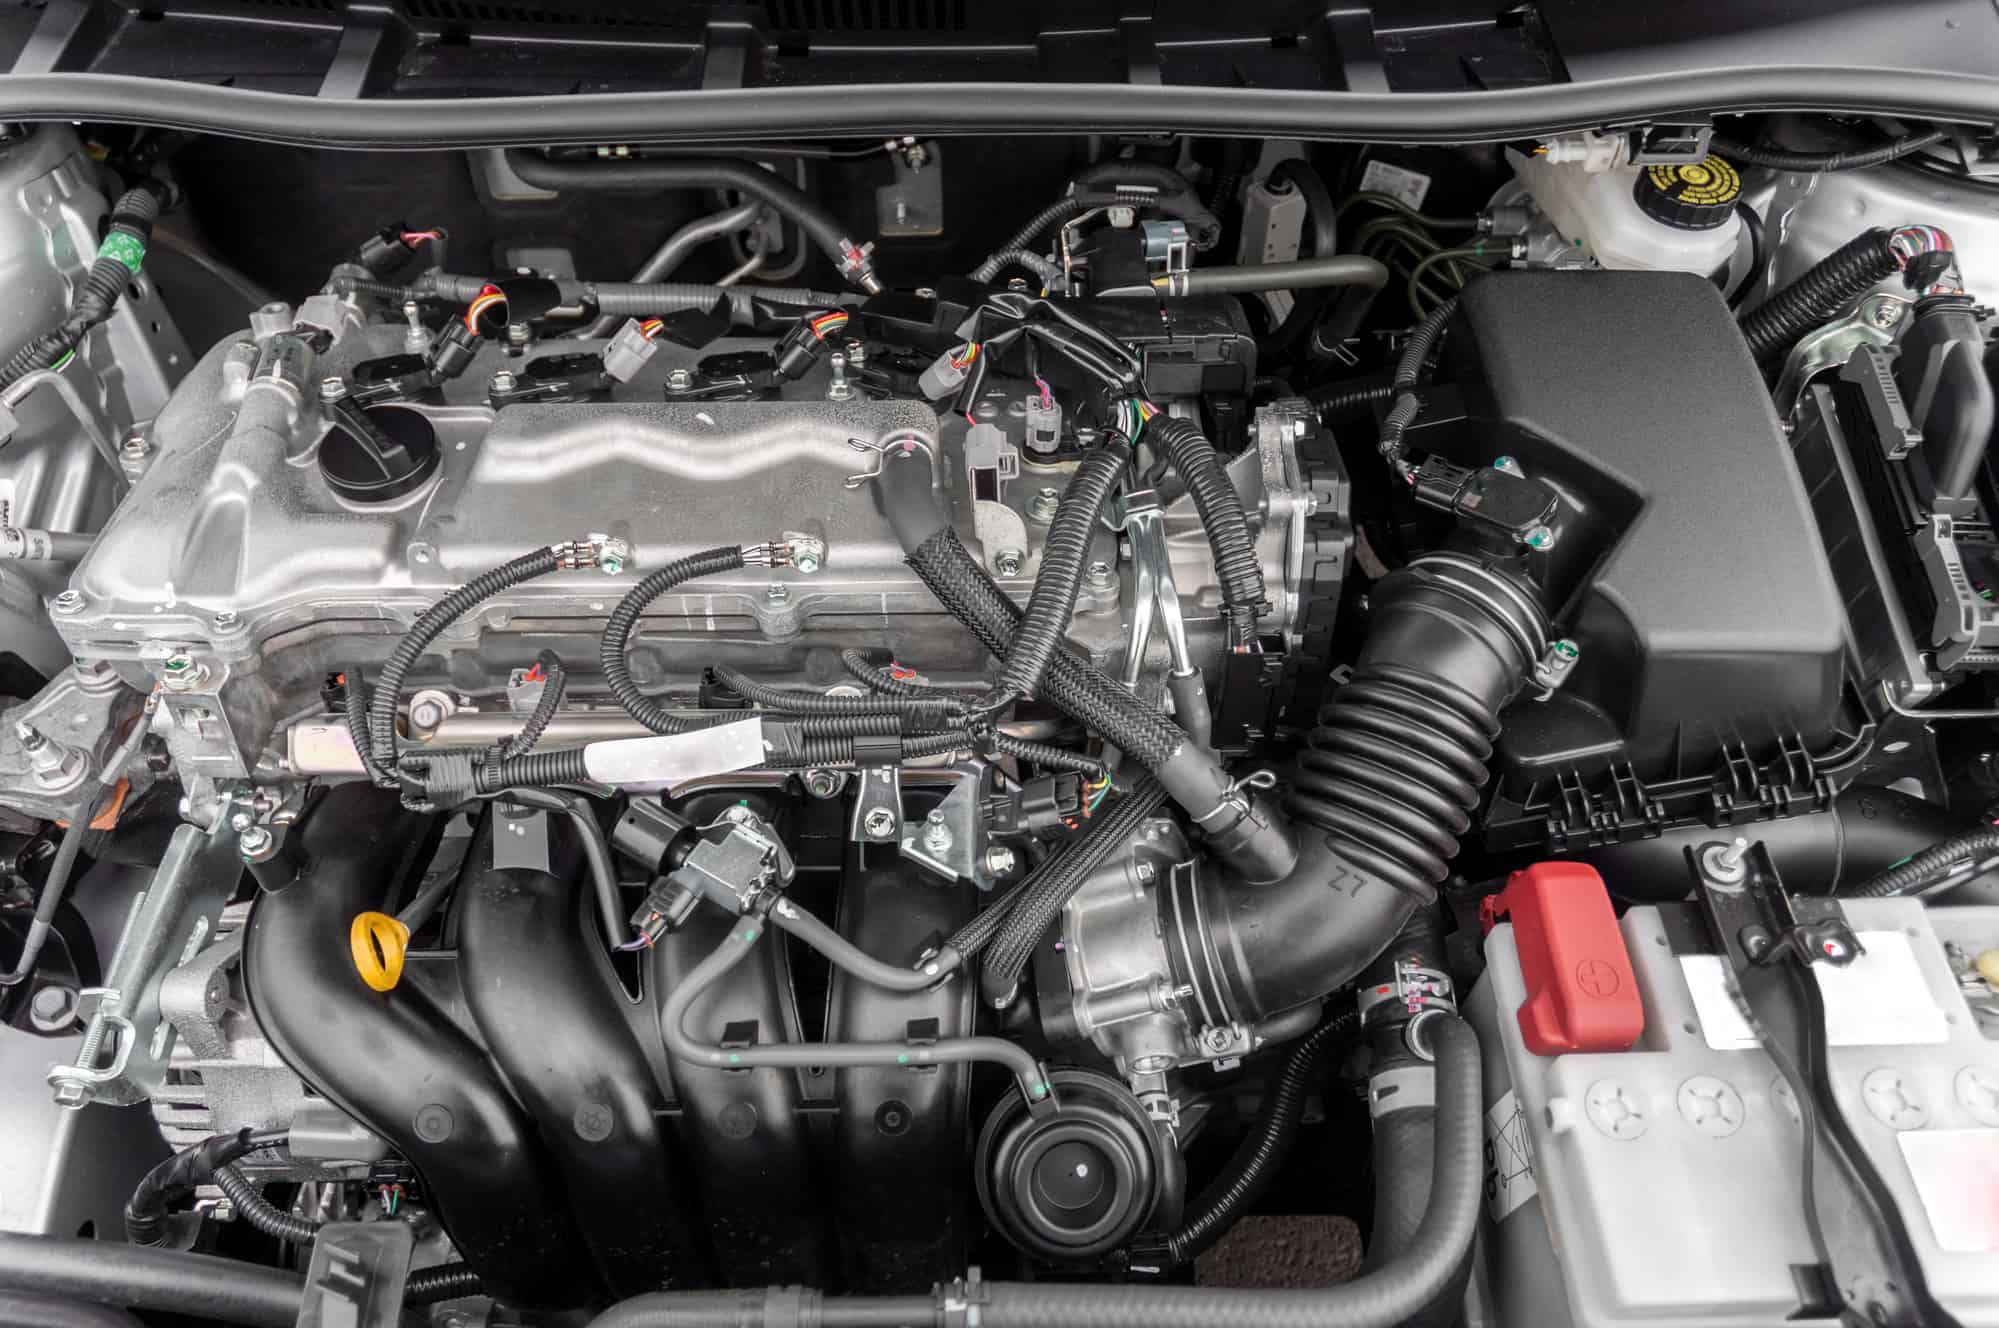
The G201 sensor, located on the side of the ABS module under the hood, requires specific tools for access and replacement. It’s important to have knowledge of the location and appearance of the ABS unit, which includes steel/copper pipes and connections to brake calipers, to guarantee a successful sensor replacement.
Step-by-Step Replacement Procedure
To start replacing the ESP pressure sensor, make sure you have collected all the necessary tools mentioned in the previous subtopic. Begin by accessing the sensor within the ABS pump unit. Disconnect the wiring harness attached to the sensor and remove the mounting bolts securing it in place. Carefully extract the old sensor from the ABS unit.
When installing the new sensor, securely mount it, reconnect the wiring harness, and ensure proper alignment within the ABS pump. Following replacement, calibration and testing of the ABS system are essential steps. Calibration is vital to guarantee the new sensor functions correctly with the ABS system, while testing verifies proper functionality and addresses any remaining issues.
Can a Front Right Wheel Speed Sensor Failure Cause ESP Pressure Sensor Failure in a Car?
When dealing with ESP pressure sensor failure in a car, it’s important to consider front right wheel sensor troubleshooting. A malfunctioning front right wheel speed sensor can indeed lead to ESP pressure sensor failure. It’s crucial to address any issues with the front right wheel speed sensor to avoid further complications with the ESP pressure sensor.
Calibration of the New Sensor
Properly calibrating the new ESP pressure sensor is essential for the best performance and safety of your vehicle’s ABS system. To guarantee accurate readings and peak functioning, follow these key steps:
- Use specialized diagnostic tools: Calibration typically requires specialized tools to adjust and synchronize the ESP pressure sensor with your vehicle’s systems.
- Guarantee accurate readings: Proper calibration ensures that the ESP system can respond effectively to changing driving conditions, enhancing overall safety.
- Prevent performance issues: Incorrect calibration can lead to performance issues within the ESP system, impacting vehicle stability and safety.
- Follow manufacturer guidelines: Adhering to the manufacturer’s guidelines and procedures is vital to correctly calibrate the new sensor for peak performance.
- Enhance system performance: By calibrating the ESP pressure sensor accurately, you can ensure that your vehicle’s ABS system operates efficiently and effectively, providing a safer driving experience.
Tips for Successful Sensor Replacement
When replacing the sensor, make sure you accurately identify its location on the ABS module for precise installation. The sensor model must be compatible with your vehicle’s make and model to guarantee functionality.
To safely remove the sensor, use appropriate tools like spanners and sockets. After replacement, adhere to manufacturer guidelines for bleeding the ABS system to maintain peak performance.
If you’re unsure about the DIY procedure, consider seeking professional assistance to avoid any errors that could trigger ESP lights or affect brake switch functionality. Following these tips will help guarantee a successful sensor replacement without complications.
As an Amazon Associate we earn from qualifying purchases.


