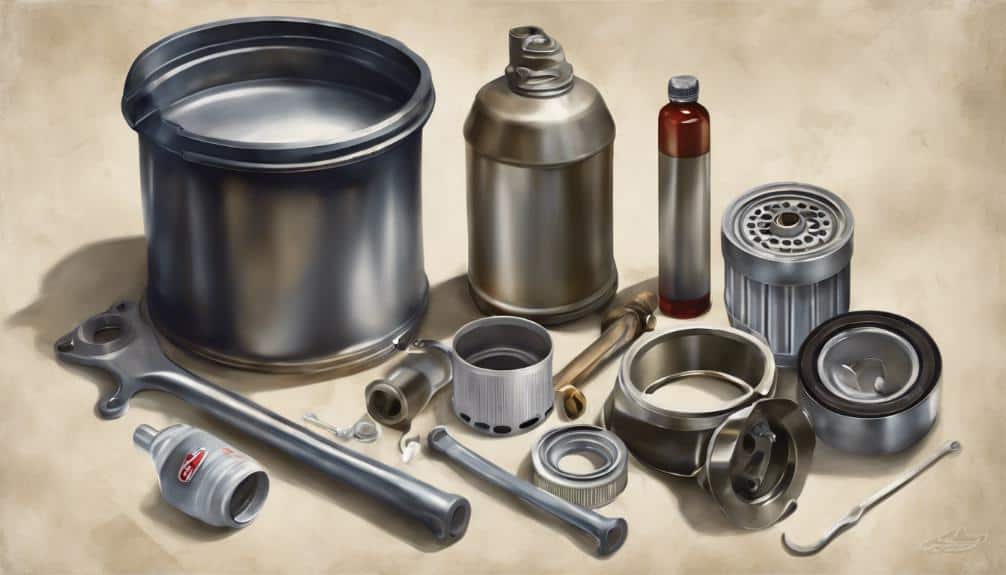
For proper maintenance of your 2013 Hyundai Sonata, follow these steps. Use a 10mm socket and oil filter wrench. Locate the oil drain plug under the engine, remove it, and catch the old oil in a pan.
Choose a quality oil filter and reputable brands like Bosch or K&N. Refill with recommended oil, using a funnel, and check for leaks. Dispose of old oil responsibly.
For superior engine performance, consider synthetic oils based on driving conditions. Guarantee accuracy by checking the oil level with a dipstick. Record maintenance details and make sure all tools are removed.
Optimize your Sonata’s performance with these maintenance tips.
Key Points
- Use 5W-20 or 5W-30 oil as recommended for the 2013 Hyundai Sonata.
- Change the oil every 5,000 miles or as per the manufacturer’s guidelines.
- Ensure proper oil filter replacement with a reputable brand like Bosch or Mobil 1.
- Check for oil leaks post oil change and dispose of old oil responsibly.
- Record oil change date and mileage for maintenance tracking.
Tools Required for Oil Change

To perform an oil change on your 2013 Hyundai Sonata, you’ll need a 10mm socket and an oil filter wrench as essential tools. Proper tool organization is important for a smooth oil change process.
Make sure your tools are readily accessible and organized to avoid unnecessary delays.
Safety precautions should also be a top priority. Always wear protective gloves and eye gear to shield yourself from any potential oil spills or splatters.
Then, ensure the car is on a level surface and the engine has cooled down to prevent any burns during the oil change.
Locating the Oil Drain Plug
Underneath your 2013 Hyundai Sonata, you can easily locate the oil drain plug by identifying a bolt on the bottom of the engine.
This bolt serves as the oil drain plug, allowing you to remove it using a 10mm socket for oil changes.
Before removing the plug, make sure you have a drain pan in place to catch the old oil once the plug is loosened. When cleaning the drain plug, inspect it properly for any signs of damage or wear.
Regular inspection helps in preventing rust formation on the plug, which could lead to difficulties in future oil changes.
If you notice any issues with the plug such as rust or damage, consider replacing it to avoid complications during oil changes.
After the old oil has fully drained, securely tighten the oil drain plug back into place to prevent leaks.
Proper maintenance of the oil drain plug is essential for the overall health and longevity of your Hyundai Sonata’s engine.
Changing the Oil Filter

When replacing the oil filter in your 2013 Hyundai Sonata, make sure to choose a high-quality filter recommended for optimal engine performance.
Opting for reputable oil filter brands like Bosch, Mobil 1, or K&N can help guarantee effective filtration, trapping contaminants that could otherwise harm your engine.
Low-quality filters may be less efficient and could potentially lead to engine damage over time.
Dirty oil filters can have a significant impact on engine performance. A clogged filter can restrict oil flow, causing the engine to work harder and reducing fuel efficiency.
Over time, this strain can lead to engine wear and potential damage.
Regularly changing the oil filter as part of your maintenance routine can help prevent these issues, extending the life of your engine and improving overall performance.
Remember to consult your owner’s manual for the recommended oil filter type and replacement schedule specific to your Hyundai Sonata model.
Can Essential Oils Help Prevent Injector Circuit Issues in a 2013 Hyundai Sonata?
Essential oils have not been proven to be effective in solving injector circuit issues in a 2013 Hyundai Sonata. It’s always best to consult with a qualified mechanic or technician to determine the root cause of the problem and find appropriate solutions for resolving injector circuit issues.
Refilling Oil Properly
Use a funnel to accurately pour the recommended type of oil from the owner’s manual into the engine to guarantee proper lubrication.
It’s important to follow the oil viscosity recommendations provided by the manufacturer to ensure peak engine performance.
Using the wrong viscosity can lead to inadequate lubrication or increased wear on engine components.
Also, be cautious not to overfill the engine with oil, as this can result in excessive pressure within the system, potentially leading to leaks or damage.
When refilling the oil, you have the choice between synthetic and conventional oils.
Synthetic oils offer superior performance in extreme temperatures, provide better engine protection, and last longer between oil changes.
On the other hand, conventional oils are more affordable and suitable for standard driving conditions. Consider your driving habits and the climate in which you drive when selecting the type of oil best suited for your Hyundai Sonata.
By choosing the right oil and following proper refilling procedures, you can maintain your engine’s health and prolong its lifespan.
Final Oil Change Checks

Perform a thorough check for any oil leaks under your vehicle after refilling with new oil. This step is vital for oil leak prevention and ensuring that your engine functions properly.
Also, verify the oil level using the dipstick to guarantee accuracy within the recommended range. Checking for leaks and maintaining the correct oil level are essential steps in keeping your Hyundai Sonata running smoothly.
When disposing of the old oil, make sure to do so responsibly at a designated recycling center to minimize the environmental impact.
Remember to record the date and mileage of the oil change in your maintenance documentation for future reference and tracking.
This information will help you stay on top of your Sonata’s maintenance schedule and ensure that oil changes are done at the appropriate intervals.
Before lowering your vehicle back to the ground, double-check that all tools are removed from underneath. This simple action can prevent damage to your car and ensure a safe environment for future maintenance tasks.
As an Amazon Associate we earn from qualifying purchases.


